The whole point of growing a marijuana plant is to be able to make use of it and that means you need to harvest its buds. Here is a brief and easy guide to marijuana harvesting.
The cannabis harvesting process is made up of four main stages; Assessing when is the right time to begin harvesting, flushing your plants, trimming them and finally drying and curing your buds.
When it comes to marijuana harvesting, timing is everything!
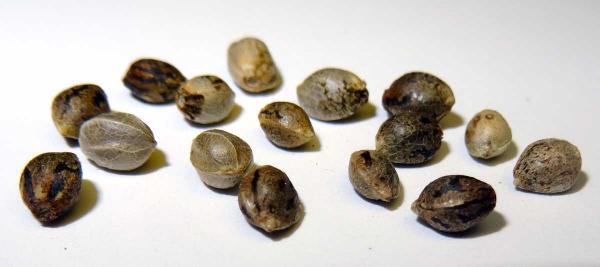
Choosing the right time to harvest your beautiful buds is part science, part skill and part judgement. When you buy your cannabis seeds you’ll probably be given a guide time as to how long a flowering period is, for your choice of marijuana plant. Usually this will have a bit of leeway, for example 8-10 weeks. This is your initial guideline and you should start to keep a close eye on your buds as the start of this period approaches.
Deciding when to harvest your cannabis
Your eyes are your first tool for determining the right time to harvest your cannabis. Check each marijuana plant to see how many of your trichomes have turned cloudy. You need a minimum of 20% of trichomes to be cloudy, before you think about making a move with your marijuana harvesting. If you choose to harvest at this point, you will get the lowest amount of bud and minimal THC. But if you’re in a hurry it can be done.
When you see that 50% to 70% of the trichomes are cloudy and 20% amber, then you are at peak THC. If you let your plants continue to mature, then THC levels will drop. But the payback for this is that you give the marijuana plant time to develop more buds. Once you have reached 20% amber trichomes, you should make it a priority to get on with your marijuana harvesting. Otherwise you are going to go over the point of diminishing returns. Unless your aim is to collect the world’s most powerful sleep medication.
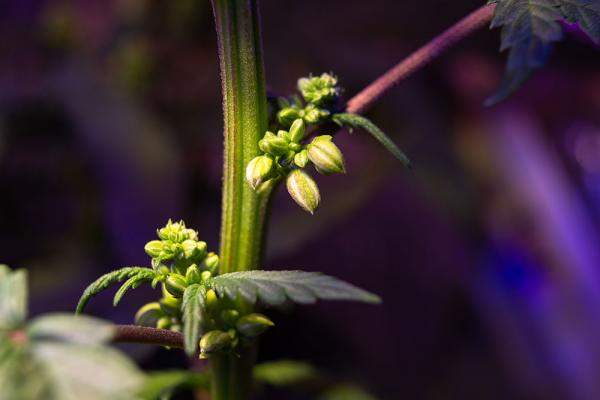
Important: There are some varieties of marijuana where the pistils don’t really colour much. If you’re a beginner, you may want to avoid these. With these strains, your only guide to harvesting is the state of the trichomes.
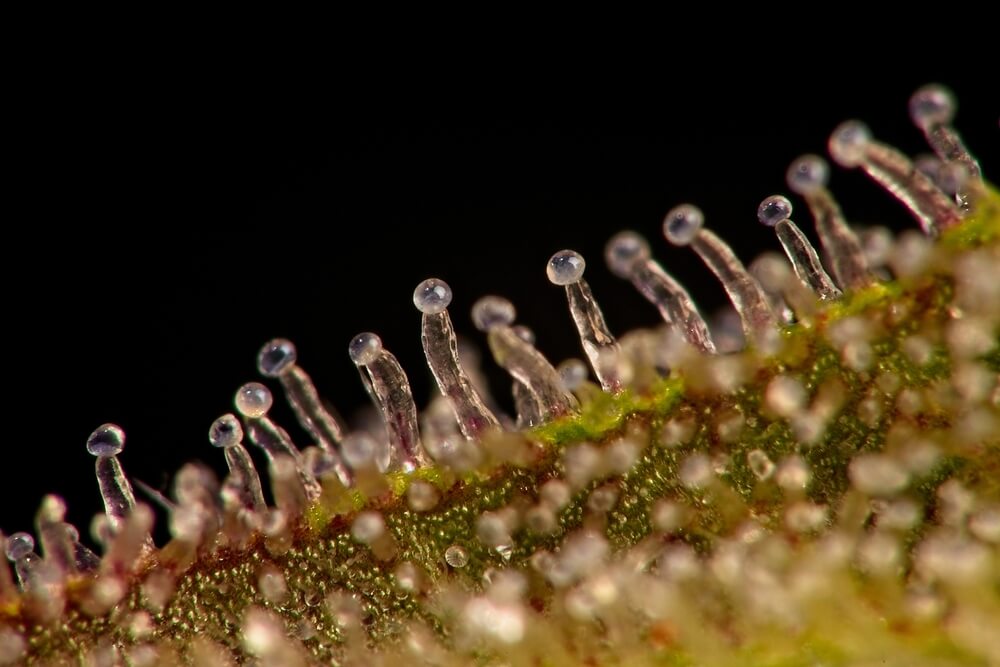
Trichomes are your ultimate guide to the right time for marijuana harvesting.
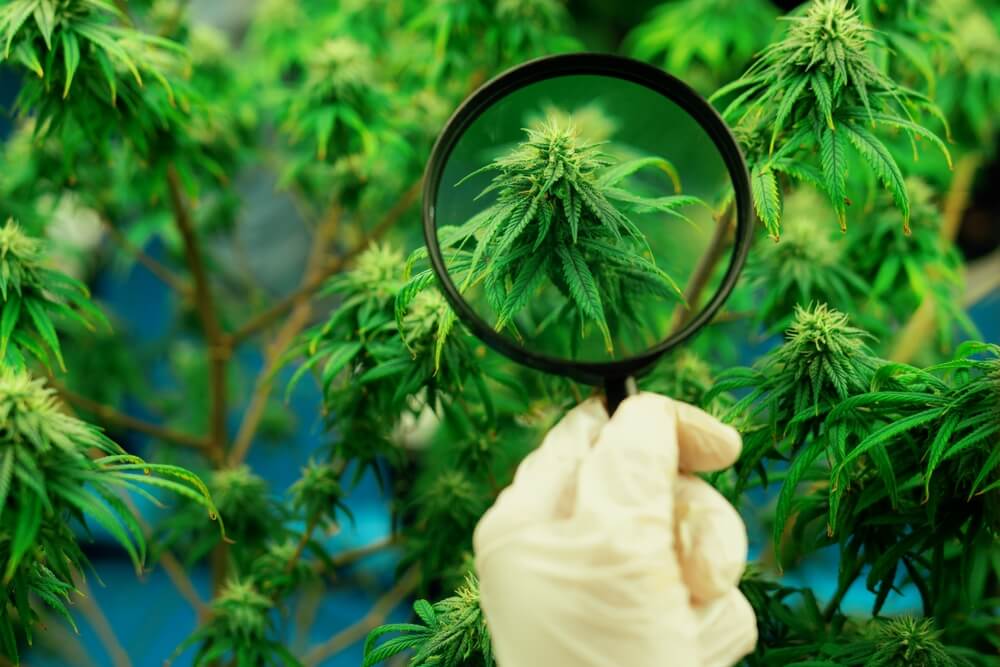
Once you can see that the trichomes on your marijuana plant are how you want them to be, it’s time to start looking at the detail. Specifically, you are looking for mushroom-shaped trichomes on your plants. It’s important that you only look for the trichomes which have the little ball on the end. As these are the ones which really make a difference to how potent your cannabis will be. In the early days, these trichomes will be transparent. As the plant matures, they will start to get cloudy. The cloudier they are, the more THC they hold. If you allow the plant to continue to mature, the trichomes will turn from a cloudy white to a darker colour, usually an amber. Before finally reaching the point of no return and turning grey and withered.
Unless you have seriously good eyesight, you’re going to want some help with this and the cheapest approach is a jeweller's loupe. Digital microscopes are a bit more expensive, but give a much greater level of detail. Plus you can post the pictures on the internet, if you want some help in deciding exactly when to collect your harvest. We’d recommend getting both. Use the jeweller's loupe for your early checks and then move up to the digital microscope.
Flushing your plants
The key point to remember is that you usually have about a 4-week window to get in some sort of marijuana harvest. Even if it doesn’t have the exact effect you want. After that, time’s up. It’s better to harvest a bit too early that to leave it too late. If you have at least 25% mature pistils, it’ll be hard for you to go too far wrong.
The term flushing refers to the practice of stopping feeding (but not watering) marijuana plants shortly before you plan to harvest them. The basic idea is that this will force the plant to use up the store of nourishment in its buds and as a result the buds will be cleaner and therefore smoother.
It must be said that, right now, there isn’t a whole lot of evidence to support the idea that flushing is good for your buds whereas it is fairly obvious how it could harm your buds. It also must be said that a good cure will go a long way to making your cannabis smooth and satisfying. In short therefore, you probably won’t be giving up too much if you choose not to flush”, so if you’re a complete beginner you may want to skip this step or do a “flush light” which has less risk.
There are three key points to remember when flushing. The first is that your plants should be ready to harvest as soon as your flush is finished, the second is that you absolutely must continue to use pH-balanced water and the third is that you must maintain the same level of watering (i.e. don’t be tempted to increase it to try to compensate for the lack of food). If you’re growing in soil, you want to start your flush up to 2 weeks before marijuana harvesting. For coco and rockwool, it should be up to a week and for hydro a few days is enough.
If you are a beginner, we’d suggest you play safe and either bypass flushing or just perform a limited flush, perhaps for half the standard time.
Trimming your cannabis plants
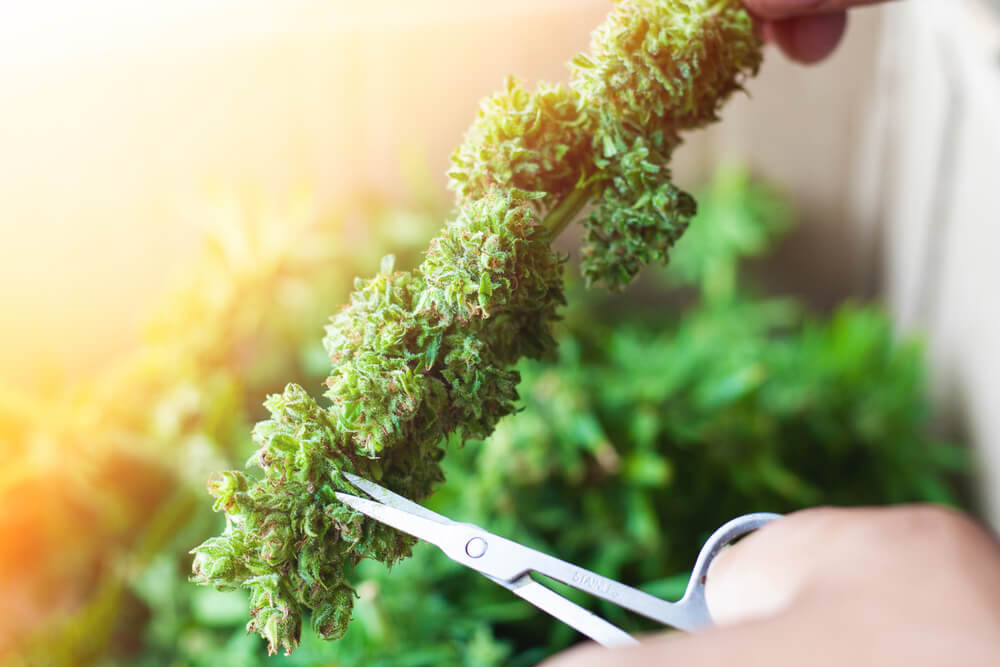
Regardless of whether you decide to flush your cannabis when marijuana harvesting, you will need to trim your plants. This is another process which should start about a week or so before you want to harvest.
You’ll probably have started trimming already by removing dying fan leaves, if you haven’t done so already, you can go ahead and remove the rest. There are two main methods of trimming and in many cases the best approach is to use a combination of both.
Wet trimming involves trimming the plant literally just before harvest. By this point, the sugar leaves you want to remove will be extending outwards, which makes it a whole lot easier to remove them. By stripping back the excess foliage you speed up the drying process. Dry trimming happens once the buds have been cut and had a chance to lose some of their moisture. It can be a whole lot easier on your shears, but if it is your only trimming method, you may find your bud dries both slowly and unevenly and remember, anything wet (or even moist) can be vulnerable to mould. Our suggestion, therefore, is to do as much trimming as you can when your plant is still alive and then, if need be, finish off the job a bit later.
The final stage - Drying and curing your bud
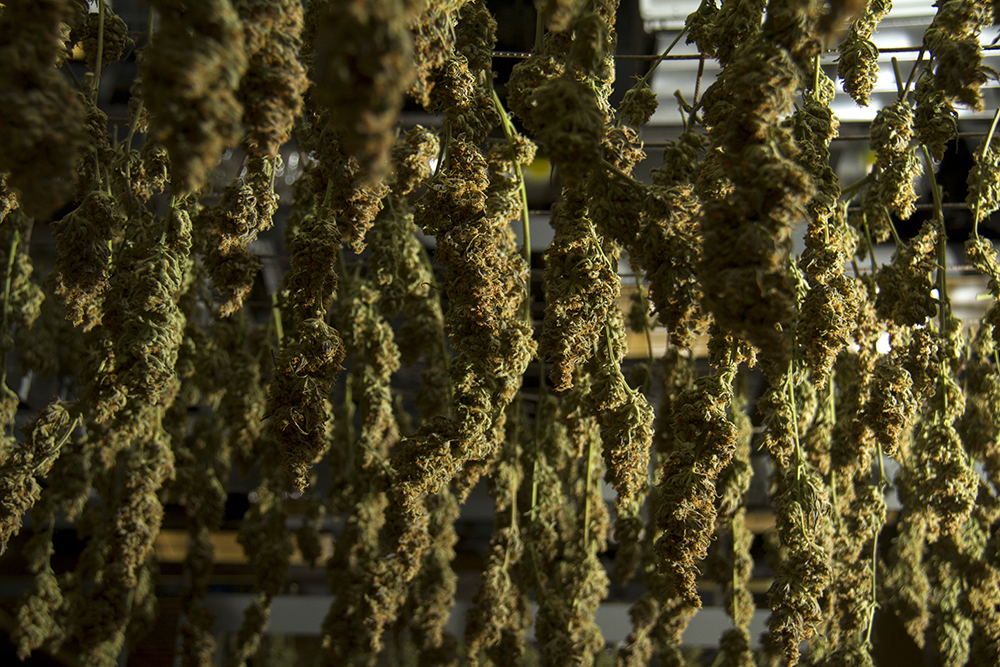
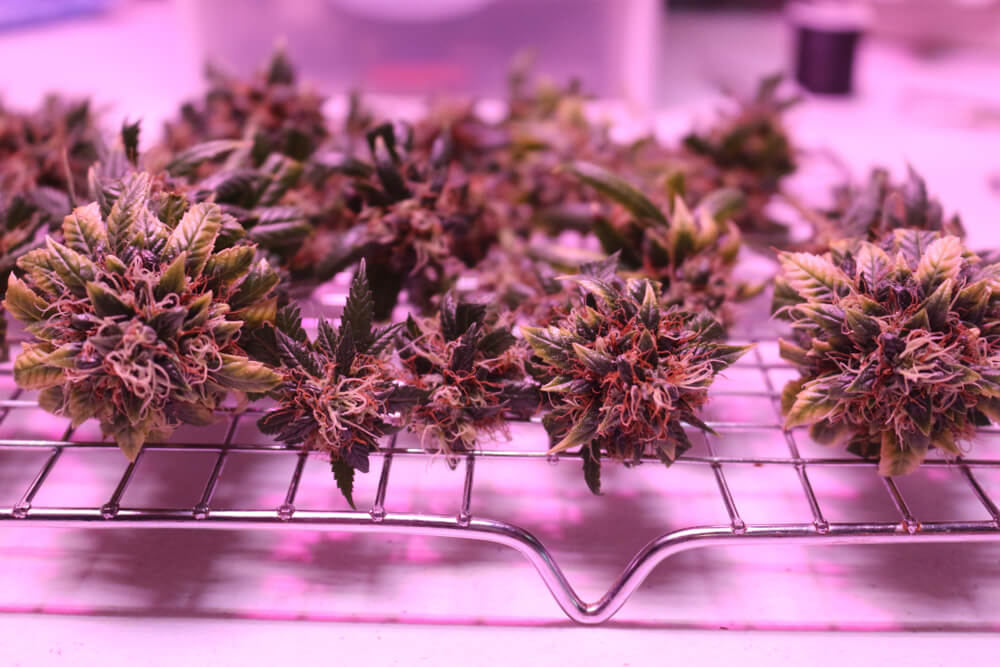
Drying Weed
Before we start the curing process you must first thoroughly dry your weed. To do this spread them out on something with a mesh so that the air can reach them from all directions. Spread the buds out evenly making sure they’re spaced far enough apart to permit good airflow. Go low and slow (aim for a temperature of about 21°C and about 50% humidity). Check your buds every 3 days or so and try snapping them in half with your hands. When they snap easily they are dry enough to move on to stage two.
Curing your cannabis
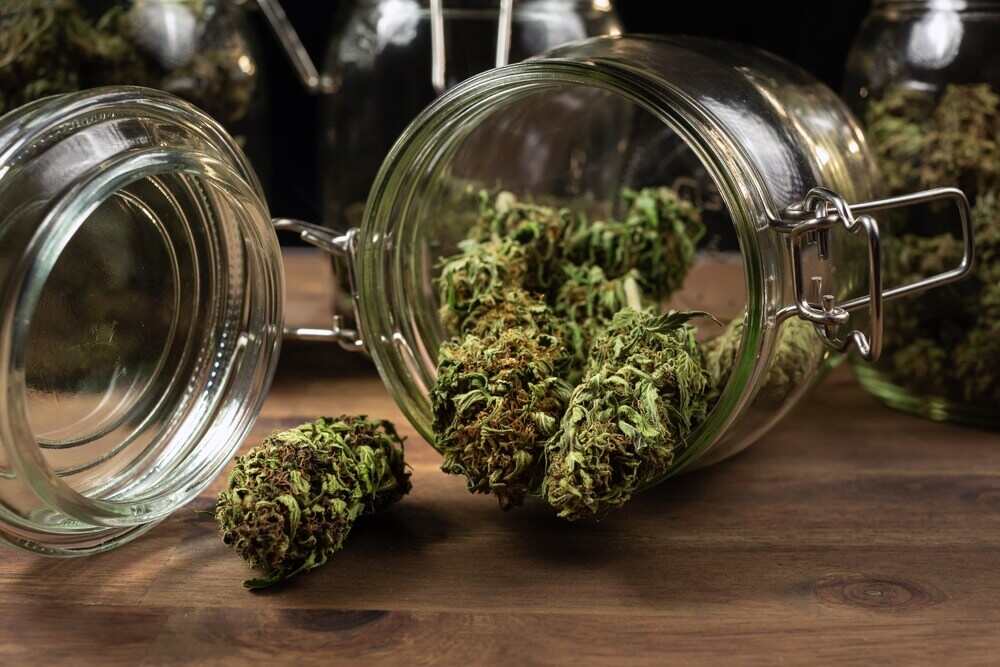
Finally to give your bud that smooth tasty smoke, you need to cure your cannabis buds. Think of curing your bud as aging it, in the same way that a 20 year old whiskey is aged, buds need to be aged for the flavors and aromas to devlop and to help get rid of any excess CO2 and chlorophyll left in the bud.
Put your buds into jars with a couple of centimetres of space at the top for air. Put the jars in a place with a temperature of about 21°C and about 60% humidity and keep an eye on them. For the first couple of weeks, check your jars every day and look carefully for any sign of mould. If you do spot mouldy buds, take them out immediately. After that, the buds should be dry enough for mould not to be a risk and at that point it’s up to you how long you leave them to cure. The longer you give them, the smoother your smoke will be.