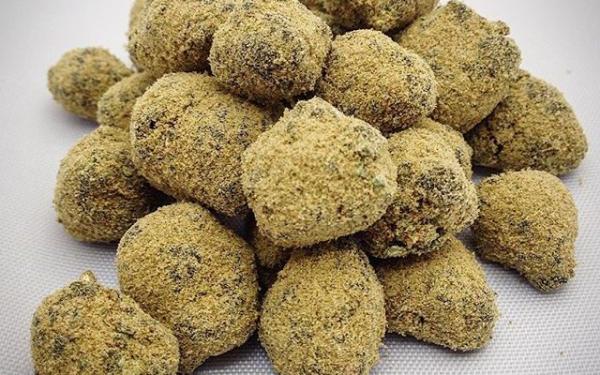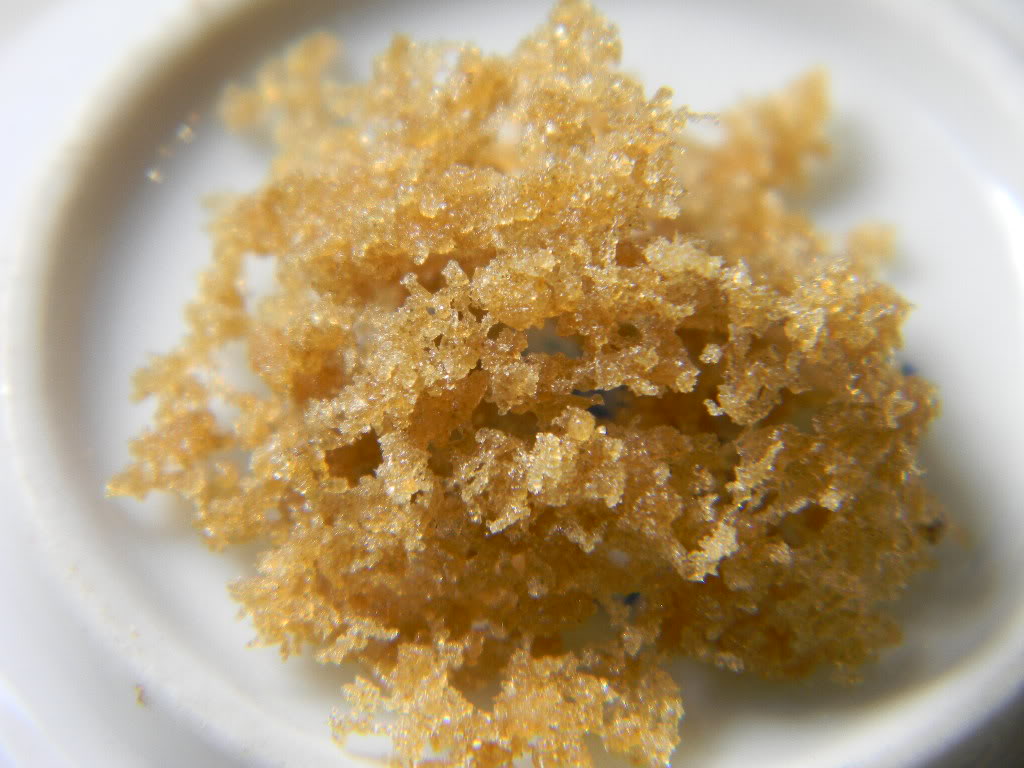
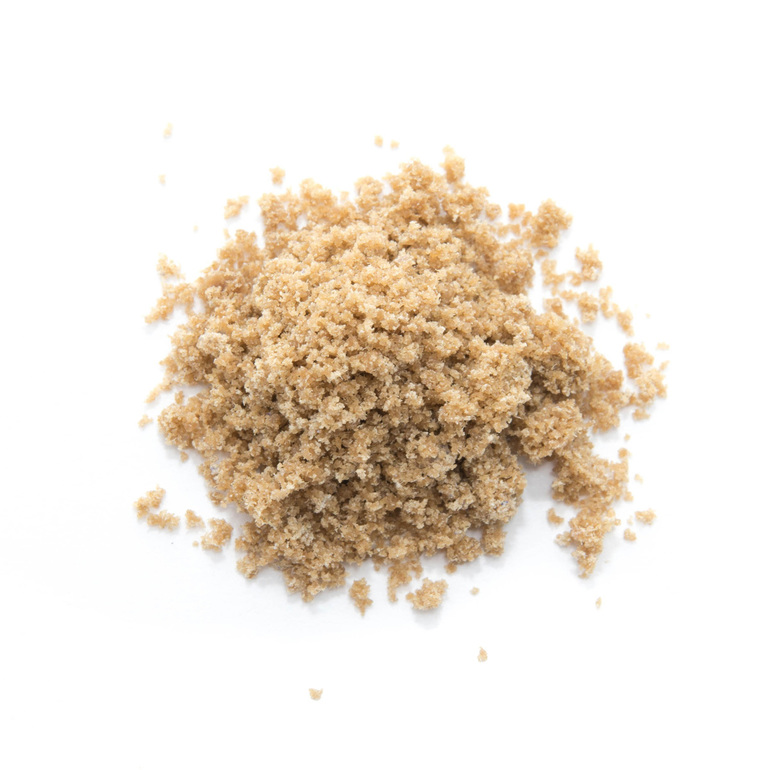
Even though smoking and its modern equivalent, vaping, are still the most common ways of absorbing the medical goodness of the marijuana plant, they’re actually both quite inefficient approaches in that they involve consuming a lot of unnecessary plant matter along with the beneficial cannabinoids. Ice Wax is a new effective way to extract those frosty white trichomes in a safe way.
Although cannabis concentrates have been around for a while now, up until recently, the methods used to produce them were inefficient, potentially unsafe or very expensive. Old-school hash, for example, can be made very easily, but in modern terms, it’s not that concentrated. Butane hash oil has become very popular over recent years but it has two significant drawbacks.
First of all, if it is made the wrong way, then serious accidents can occur. Secondly, even when it is undertaken correctly, the fact is that the cannabinoids are extracted from the marijuana plant through the use of solvents and this made some people uncomfortable (even though the solvents were cleaned away before the cannabis concentrates were used).
The ice wax method is a very “new school” way of making cannabis concentrates and has been winning a lot of fans due to the fact that it is effective, safe, solvent-free and fairly simple. Here is a guide to how you make it.
Utensils for making ice wax
Work bag
Bag of ice
Cold water
Three large buckets, two of which need to have venting holes up at the top
Set of bubble bowls including a 30, 53, 68, 90, 120 and 160
Spray bottle full of water
Gather card/plastic spatula or similar tool to remove the more solid wax
Tool to agitate the liquid, we suggest an electric whisk.
Optional - measuring jug or similar (to move the water between the buckets more easily)
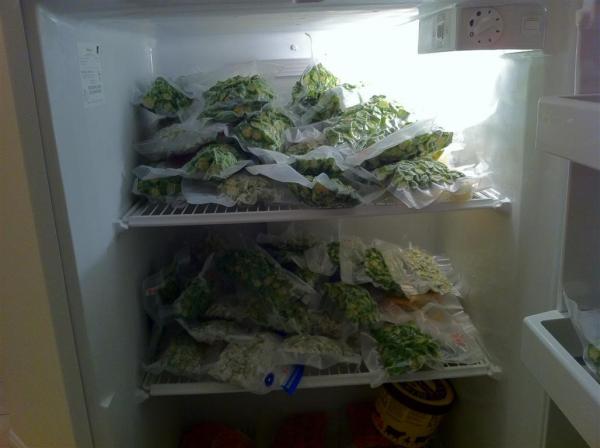
Obviously you will also need marijuana plant matter from which to extract the medical cannabinoids. Remember that the quality of your ice wax will depend on the quality of the original bud.
Step 1:
Place the work bag into one of the buckets, put a layer of ice in the bottom, then add a layer of plant matter and repeat until you have used up all your plant matter. Add cold water slowly, until it just covers the top layer. Leave to chill for 10 minutes and then top up the cold water until it has the consistency of a broth (or fruit juice).
Agitate the mixture for about 20 minutes. You can do this just by stirring it manually with a long spoon or similar, but unless you really fancy giving your arm muscles a workout, we’d suggest you use an electric whisk .
Step 2:
Remove your work bag draining it as thoroughly as you reasonably can. Basically the more liquid you can get out, the more (semi) raw material, you’ll have for your ice wax. The contents of the workbag can now be thrown away, preferably in an environmentally-friendly manner such as on a compost heap.
Step 3
Take your 68, 90, 120 and 160 bubble bowls and put them over the second bucket in that order, in other words, you want the 68 on the bottom and the 160 on the top.
Put the 30 and 53 on top of the last bucket, again, in that order, i.e. with the 30 on the bottom and the 53 on the top. You want the bubble buckets to nest on top of each other with a good, tight seal.
Pour the liquid slowly into bucket number two. If you find your first bucket is too heavy for you to do this comfortably, you can use a measuring jug, or similar, to scoop out smaller quantities.
There are two key points to remember here. First of all, you really need to do this slowly to eliminate losing liquid to spills, splashes and overflow and secondly you want to get all the liquid out so remember to rinse out your first bucket and your measuring jug if you use one.
Step 4:
You can just leave the liquid to drip through at its own pace, but if you want to speed things along, you can lift the nest of bubble bowls and spin them, slowly and carefully, to get the liquid moving a bit more quickly.
Once your liquid has passed through your first stack, take the first set of bowls out of the bucket and pour the remaining liquid into the second set of bowls in bucket number 3. Be careful as you do this to avoid splashes.
Then put the first set of bowls back into bucket number 2 and start to separate them and collect the ice wax. In other words, take your 160 bowl off first and let all the other bowls continue to drain while you use your gather card or spatula to remove the ice wax. If needed, spray water as you work to make the ice wax easier to remove and certainly spray water round each bubble bowl to make sure you get every last piece of the ice wax.
Step 5:
When you’ve completely harvested your first set of bubble bowls, pour the resulting liquid into the second set of bubble bowls, along with anything which has drained off while you were working, remembering to rinse out your first bucket and repeat the exercise with your second set of bubble bowls.
Now you can dispose of the liquid remaining in the second bucket and proceed to dry your ice wax. The best way to do this is to chop it up into bits and put it on parchment paper on a tray somewhere dark and dry. Do not, ever, put ice wax in a jar until it is completely dry, otherwise you risk losing it all to mould.