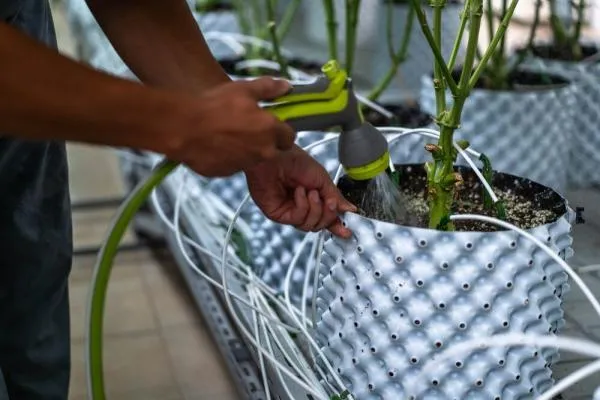
When Should You Flush Autoflowers?
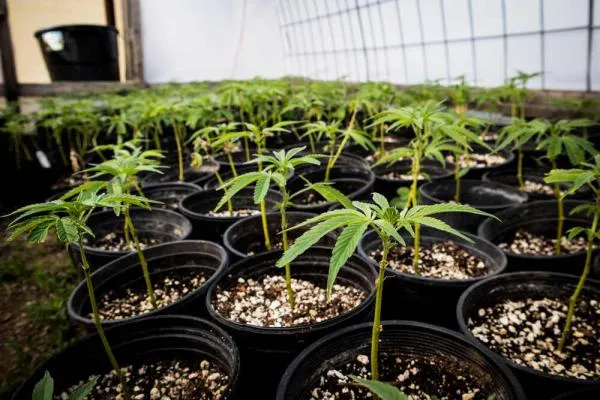
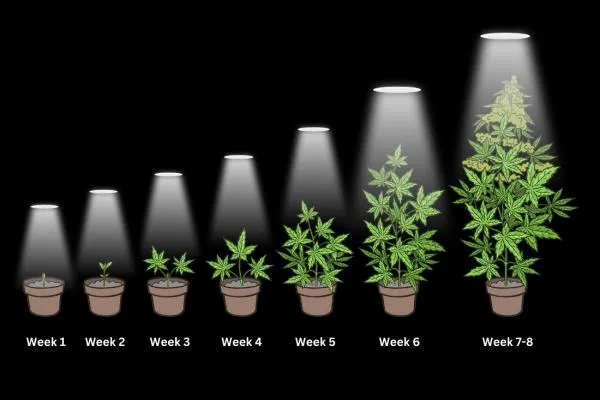
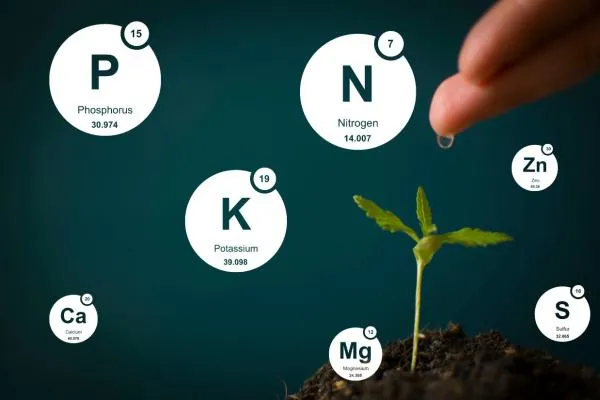
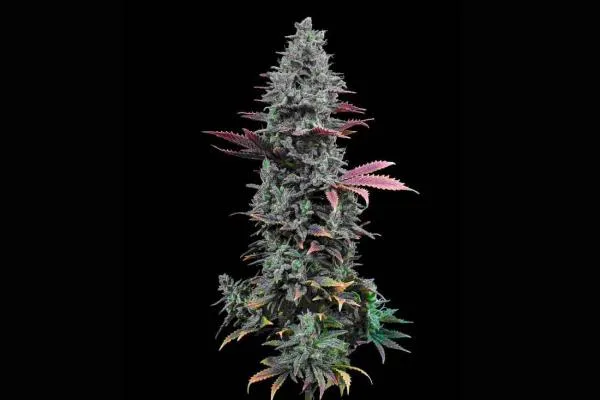
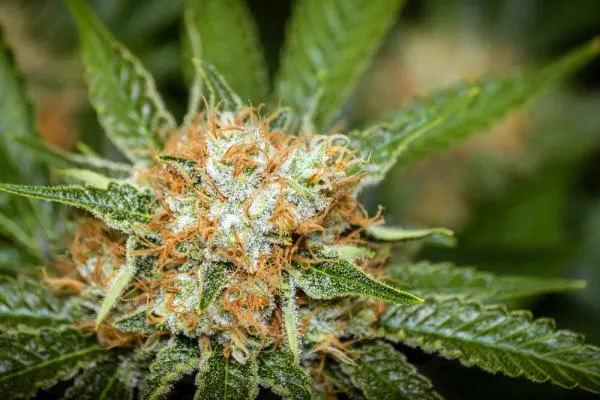
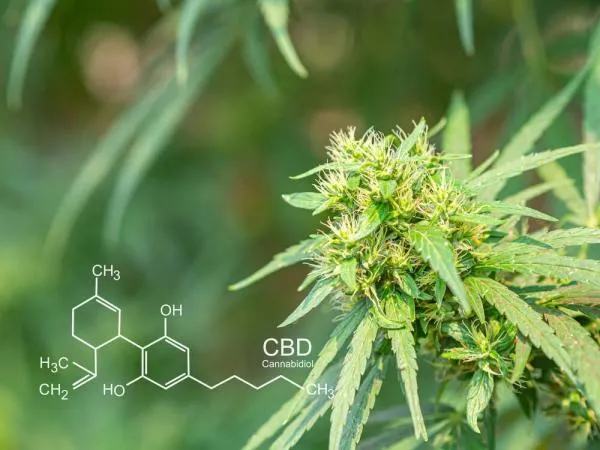
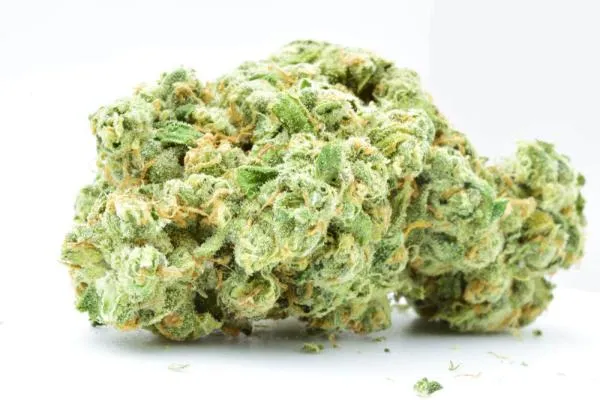
Understanding Flushing in Autoflowering Cannabis Cultivation Flushing cannabis plants is one of those topics that gets a lot of debate in the cannabis community. Some growers sw...
Find all the answers you need to know about Cannabis, with helpful guides, legal news, recipes and more. Full step-by-step walkthroughs on all tried and tested methods, setup and genetics.