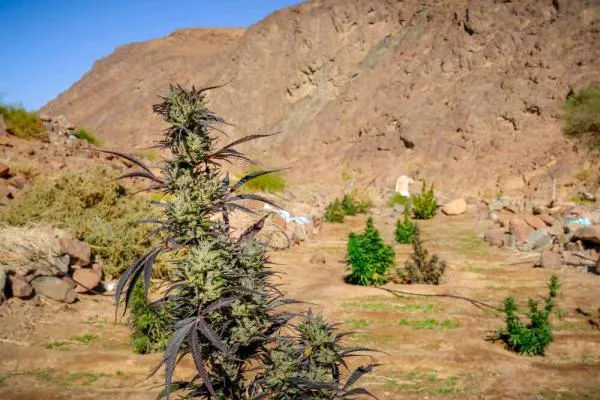
So you’ve decided you want to grow some marijuana but aren’t sure as to how or where. One of the first questions that should come to mind is ‘Will I be able to do this outdoors in the open where no one cares?’. If the answer is no, you’ve come to the right place. The ‘how’ part of cultivating cannabis is covered here, so let’s just assume you have chosen indoor cultivation for your grow. This means that the sun’s natural (and free) energy is rather out of the question for your plants, but fear not, by the end of this post you will have a good idea as to what type of lighting system would work best for your grow.
The Basics
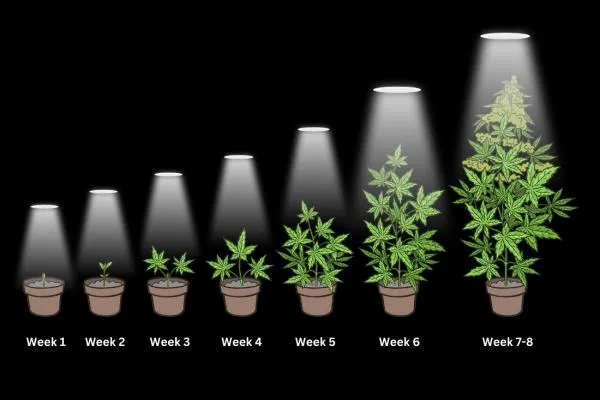
A very basic rule of thumb as far as lighting and cannabis goes is more light = bigger yields, but the type of light and the amount your plants get will also have an effect on your garden. Let’s start with what role light plays in the life cycle of the cannabis plant. It is common knowledge that most plants in general require air, light, nutrients, space for growing and water. Without any one these, plants have no chance of survival or reproduction. Plants require these five things to conduct photosynthesis, which uses the energy (though not the heat) of light to produce glucose (C6H12O6) from carbon dioxide (CO2) and water (H2O). These sugars are then converted to starches, which then become more complex molecules such as cellulose. Plants absorb nitrates through their roots and convert them into different kinds of nucleic and amino acids, which are subsequently converted into proteins (ribosomes), the building blocks of life. Without a sufficient amount of light, plants will grow very slowly, however too much light can cause the plant and the soil to dry out. Light requirements will vary for each kind of plant but also for the various stages of the plant’s life cycle.
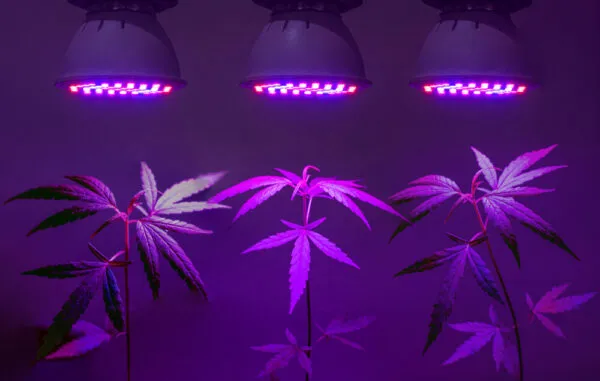
During photosynthesis, the red (730 nm) and blue (400 nm) portions of the visible light spectrum are used to capture chlorophylls A and B. The red and blue portions are used most efficiently by plants though light from other spectrums is also utilized. During the plant’s vegetative stage, blue light (400-500 nm) is used to maintain healthy leaves, including the fan leaves, which act as solar panels for your plants. In nature, cannabis plants get their blue light from the sun’s high angle in the spring and summer, which is an indicator for them to develop strong fan leaves. For bud production, cannabis plants will use the range of 620-780 nm after they have entered the flowering period. This red light occurs naturally in the late summer and autumn when the sun is at a low angle, indicating that winter is coming and that it is time to flower to promote budding and produce offspring in the form of seeds.
The use of artificial lighting to grow marijuana is a direct result of prohibition as growers could not grow in the open and were driven indoors where they could keep away from the prying eyes of law enforcement. From the early 1960s up until the mid-1970s, low-pressure fluorescent lamps were the most common and most efficient type of indoor lighting systems. Their low cost, ease of setting up and satisfactory efficiency was what made them the best option indoors, however they are no match for high pressure sodium (HPS) lamps, which generate much more intensity, resulting in the massive, dense buds that began gracing the covers of cannabis magazines in the 1990s. Compact fluorescent lamps (CFLs) appeared in the 1970s and like larger fluorescent lamps, they are efficient enough for seedlings, cuttings and early vegetation, particularly for small gardens. Unlike larger fluorescents, CFLs have built-in ballasts and can be used in standard bulb sockets making them a more versatile option. Metal halide lamps (MH) are another kind of high-intensity discharge (HID) lamp, like HPS lamps. They use mercury vapor to create their powerful light, which was originally used for the vegetative phase, however as they are not as efficient as HPS lamps and produce smaller yields, they have somewhat fallen out of favor. The newest kid on the lighting block are the incredibly popular light-emitting diodes (LEDs), which create little heat and are very compact, making them an ideal choice for compact gardens where space can be an issue. Though LED technology has been around for decades, its initial high price made it a barrier to entry for many small-time growers. Over the past several years, their efficiency has improved and prices have fallen even further. In the long run, however, they save more money than HID lights and now produce comparable yields HPS fixtures, making them even more appealing to indoor growers.
Types of Cannabis Lighting
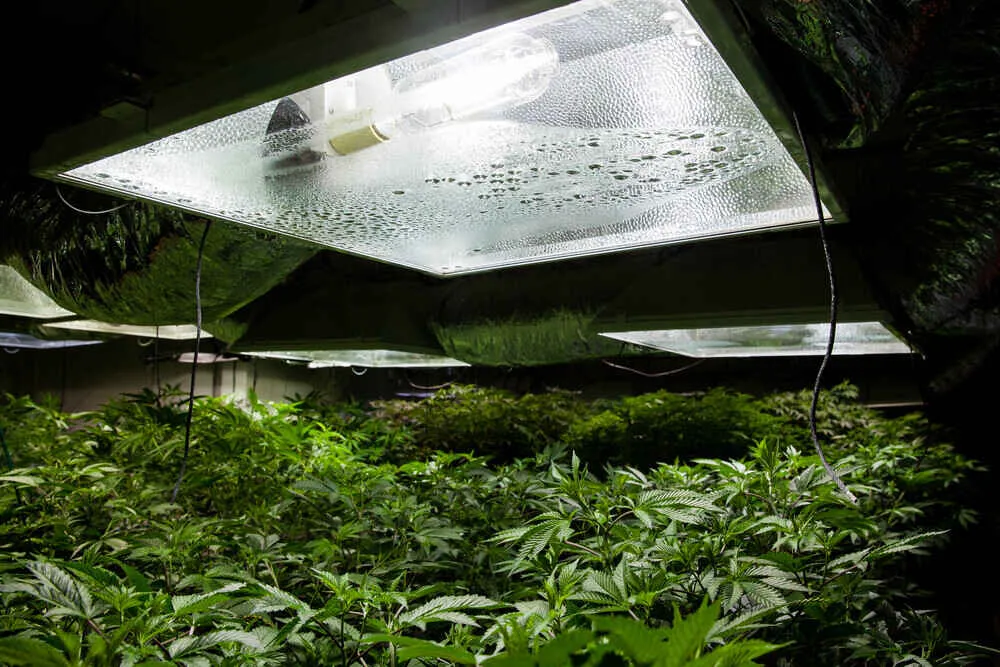
HID (High intensity discharge)
As mentioned above, these include both metal halide as well as high-pressure sodium lamps. In terms of lumen-per-watt efficiency, they perform better than any other type of lamp. HIDs include mercury vapor, metal halide, HPS and conversion bulbs, however MH and HPS types are used most commonly. They have a wide spectrum of wattages ranging from 150 to 1500 watts, though 1500 watts are intended for outdoor lighting such as stadiums and produce too much heat to be used in an indoor space. European growers generally stay within the 400-600 watt range while American growers prefer 600-1000 watts. MH lamps are generally preferable for the vegetating plants as they emit a white light, though they are quite low in the red spectrum. HPS lights emit an amber light and are thus higher in the red spectrum. As a result, they are better suited for flowering than MH lights, although even MH lights produce denser buds compared to traditional fluorescent lamps. Whether you decide to go with MH or HPS lamps, a high-quality (preferably digital) ballast and corresponding fixture (hood) will be required.
LEC (Light-Emitting Ceramic)
Also referred to as Light-Emitting Ceramic (LEC) lights, these are MH lights that use a ceramic arc tube instead of a quartz one that is standard in typical MH bulbs. They emit the highest amount of PAR, which will produce comparable results to a standard MH kit, though with much less heat. Like MH bulbs, CMHs also require ballasts, bulbs, reflectors and sockets.
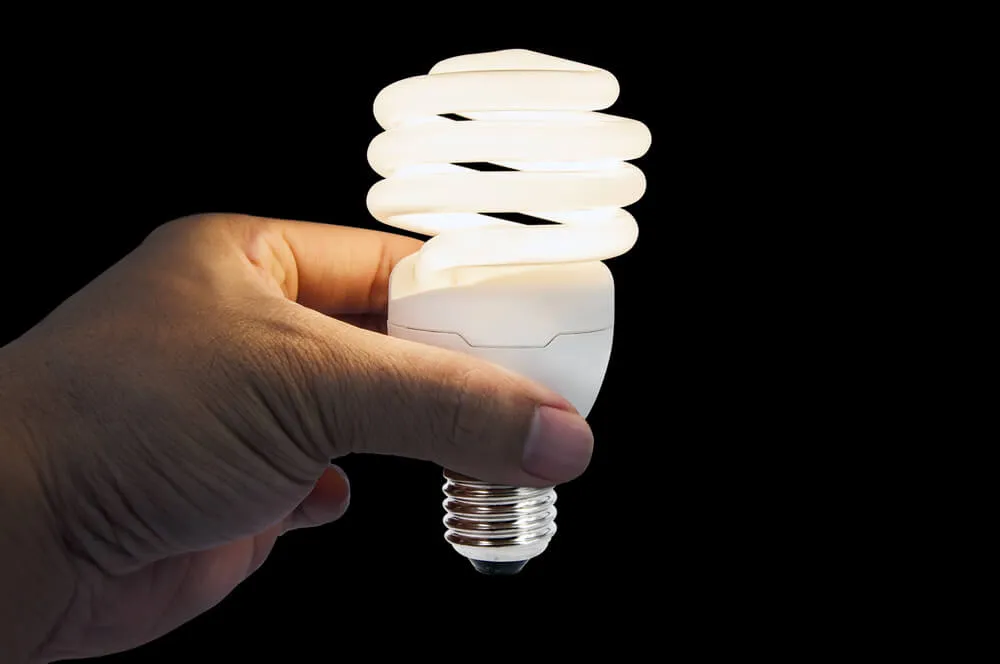
CFL (Compact Fluorescent Lamps)
As the name suggests, these lamps are quite small so they will be best suited for very small gardens. In contrast with traditional straight length fluorescent tubes, CFLs do not require external ballasts and can easily be attached to standard household sockets. Because they are small, they also emit more concentrated points of light, as opposed to longer tubes. This means light can be better directed to cover a specific area or even grouped together with other bulbs further increasing intensity.
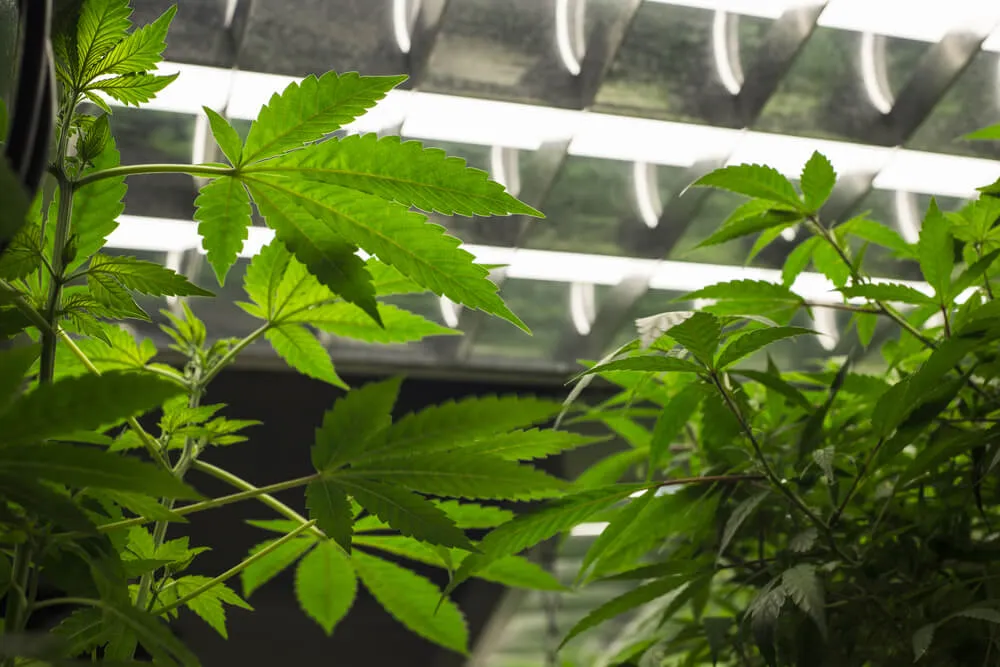
Fluorescent Lamps
have been in use for over 50 years and come in a wide array of sizes and can emit light in both blue and red spectrums, so they can be used for vegging as well as flowering though they do not have sufficient light intensity to produce cup-winning buds that an HPS system can. However, such lower intensity lamps are still very good for seedlings and cuttings as they don’t produce too much heat and can be kept closer to the plant canopy. High output fluorescent lights (T-5, T-8 or T-12) use double the power of low output ones and are a great supplement to other systems such as HPS as they can provide plants with more blue light.
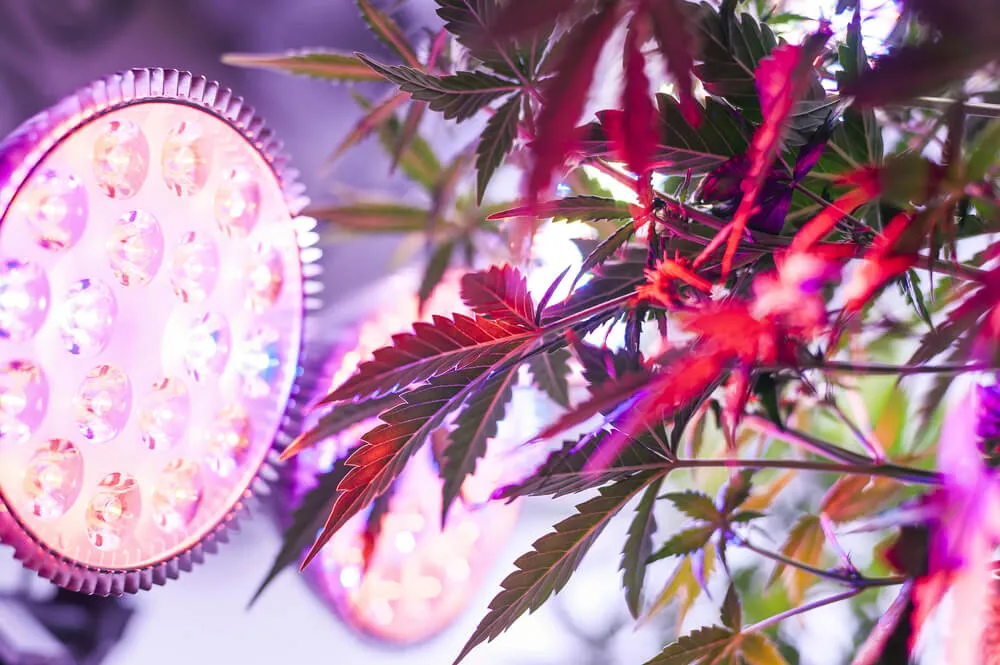
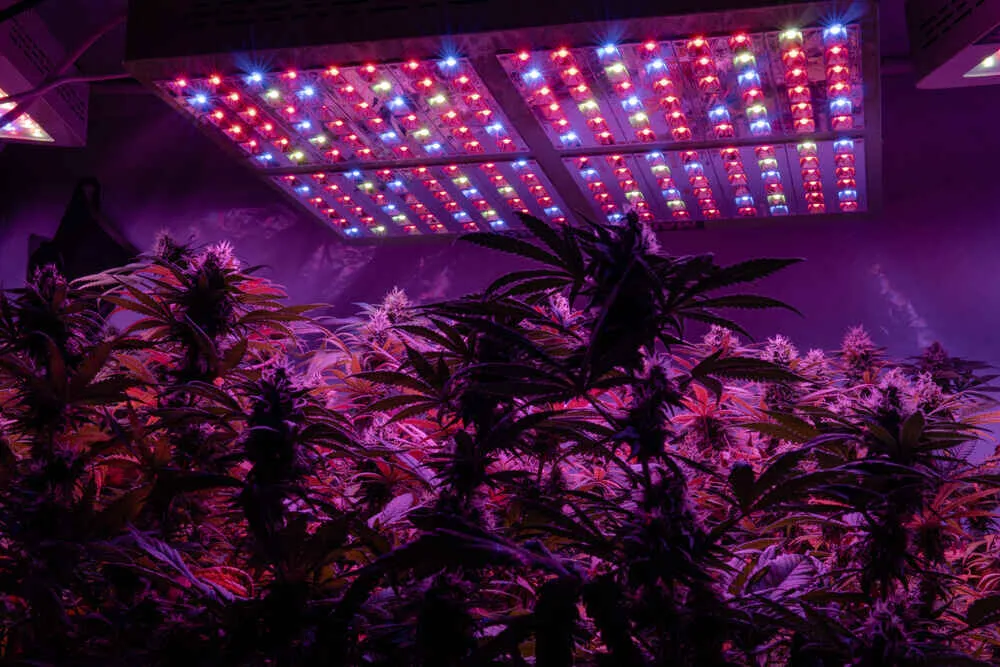
LED (Light Emitting Diodes)
These lamps have recently exploded in popularity due to their performance and quick return on investment as well as their ability to perform on par with HPS systems. LED lights come in all shapes and sizes, generate little heat (so they can be brought closer to plants without burning them) and are incredibly efficient at producing PAR (photosynthetically active radiation). LEDs are generally concentrated in the red and blue bands of the spectrum, which is exactly what plants want and need to thrive. The latest LED technology doesn’t even require ballasts, which means fewer cables, less heat and more space in your grow area.
A recent offshoot of standard LED lighting systems, these setups consist of multiple LED chips (usually at least 9) that are attached to a substrate forming one unit. As a result of this highly efficient design, a COB LED has several more sources of light in the emitting area than traditional LEDs do. Not only does this save space, it enables the maximum potential of the chips on the circuit board. Depending on the substrate of the fixture (ceramic/aluminum), the temperature of the lighting fixture itself can be lowered even further with a heatsink. Not only do COBs provide greater focused light, they have significantly improved lumen density, which will give your plants the energy they crave.
It's All About Timing - Indoor Light Schedules
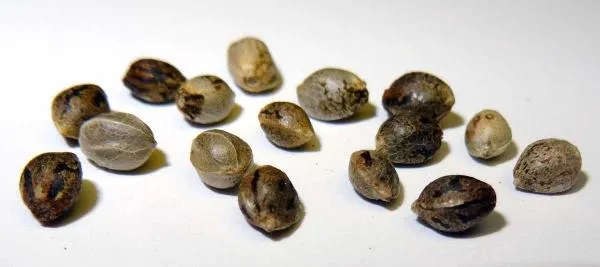
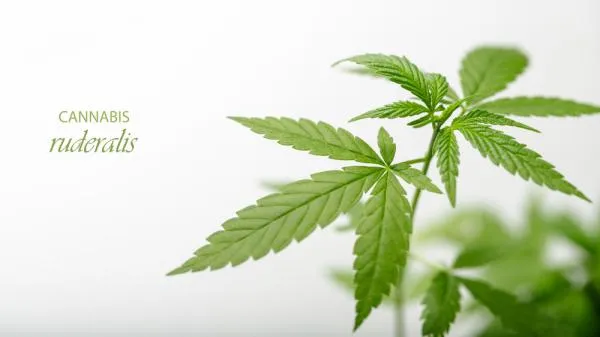
There are basically two words you need to know in order to determine the basic lighting schedule for your plants: autoflowering and photoperiod. In nature, the amount of daylight obviously changes throughout the year, with less and less light in late summer/autumn. Your proximity to the equator will also play a role in terms of how much light your plants will naturally receive. Indoor growers fortunately don’t have to worry about this as they can set their timers to run according to their needs. Thanks to successful crossing with cultivars from different regions of the globe, breeders have successfully managed to create an entire new plant category called the autoflowering variety based on the ruderalis subspecies. While botanists are still fighting over whether to call it a separate species or not, loads of growers have fallen in love with autoflowering varieties as they flower automatically from seed, regardless of the amount of light they receive. Their counterpart, photoperiod marijuana varieties, will only begin to flower once a light/darkness cycle of 12/12 hours is achieved, meaning you will wait longer until harvest.
For photoperiod strains, indoor growers generally give their plants 18 hours of light in the vegetative phase, though some leave their lights on 24 hours for seedlings and clones. Photoperiod cannabis plants require a minimum of 14 hours to remain perpetually in the vegetative phase and will only transition to flowering when there is darkness for 12 hours or more. The ruderalis variety originated in Siberia, where the daytime light was very long (close to 24 hours depending on latitude) over the course of relatively short summers lasting 1-2 months. While it is possible to run lights 24 hours for autoflowering plants, it is also not wise to do so financially as this will raise your energy bill but also because plants need time to rest from photosynthesis, otherwise growers run the risk of stressing them and disrupting the flowering process.
In order to replicate the autumn even more closely, growers sometimes switch to a light cycle of 10 hours of light and 14 hours of darkness. This is known as the ripening period, though it should only take place just before harvest, approximately 10 days or so as buds stop growing by then and you do not run the risk of stunting their growth.
Light Cycle Rundown
24hs on / 0hrs off: Seedlings, cuttings for both photoperiod and autoflowering plants in the first couple of weeks post germination
20hs on / 4hrs off: Small vegging photoperiod and autoflowering plants
18hs on / 6hrs off: Vegetative phase for photoperiod, vegetative through flowering for autos
12hs on / 12hrs off: Flowering phase for photoperiod strains.
10hs on / 14hrs off: For both photoperiod and autoflowering strains in order to speed up ripening (approx. 10 days before harvest)
Regardless of the type of plant, is important to remember the roles of both red and blue light throughout the plant’s life cycle. If large buds at harvest time is the name of the game, lighting with plenty of red light (620-780nm) should be the focus. However, it is difficult to achieve healthy flowers without healthy leaves early on, so in the vegetative phase, a healthy amount of blue light (400-500nm) should be provided. In the lower range (400-450nm), blue light can produce some flowering while continuing vegetative growth, though this is not enough to promote budding. Both red and blue wavelengths are utilized most efficiently by plants but red light is more cost effective as it takes less energy to produce, another reason why HPS lights, which are stronger in red light, are as popular as they are.
Effective Grow Space Coverage
One of the first things to consider when selecting a type of light for your garden is how much space lights will need to cover. Since different types of light emit different levels of energy/intensity, growers will need to choose the one that meets their garden’s needs the best. Additionally, different cultivars will also have different light requirements. Narrow-leaf/equatorial sativas require the most as they have evolved to withstand long periods of intense sunlight. Broad-leaf indicas require the least as they come from the northern hemishphere where light is much less intense than at the equator. Once you have decided on your variety, you can use the following information to select your type of lamp.
HIDs
400w from a MH/HPS bulb can cover up to a space of 3 ft x 3 ft (90 x 90 cm), a 600w bulb will sufficiently cover up to 3.5 ft x 3.5 ft (105 x 105 cm) and a 1000w lamp will cover 4 ft x 4 ft (120 x 120 cm).
CMH
A 315w ceramic metal halide lamp should easily cover a garden up to 4 ft x 4 ft (120 x 120 cm) at a height of 2 ft. 630w will easily provide enough light for a space of up to 6 ft x 6 ft (180 x 180 cm).
CFLs/Fluorescent lamps
Fluorescent lamps have lower light intensity and thus need to be kept as close to plants as possible to give the entire garden adequate light for growth. Eight 4 ft high output tubes should provide adequate light over an area of 4 ft x 4 ft (120 x 120 cm).
LEDs
Since LEDs are roughly twice as efficient as HPS lamps, you can take the HPS wattage required for a given space and halve it to get the approximate coverage area for your LED setup. So for example a 200w LED lamp can substitute a 400w HPS one covering an area of 3 ft x 3 ft (90 x 90 cm), a 300w LED can replace a 600w HID in an area of 3.5 ft x 3.5 ft (105 x 105 cm), etc.
Recommended Height for Lamps from your Plant
HIDs – 400w-18 in (45 cm)/600w-24 in (60 cm)/1000w-24 to 36 (60-90 cm)
CFLs – 2-10 in (5-25 cm)
LEDs – 2-10 in (5-25 cm) though 12-24 in (30-60 cm) is generally recommended
CMH – 315w – 24 in (60 cm)/630 – 36 in (90 cm)
As far as your wattage per square foot is concerned, you should aim at about 50-60 watts per. To calculate this, simply obtain the surface area of your grow space in feet and multiply by 50/60. The output of your light should ideally remain above 300W.
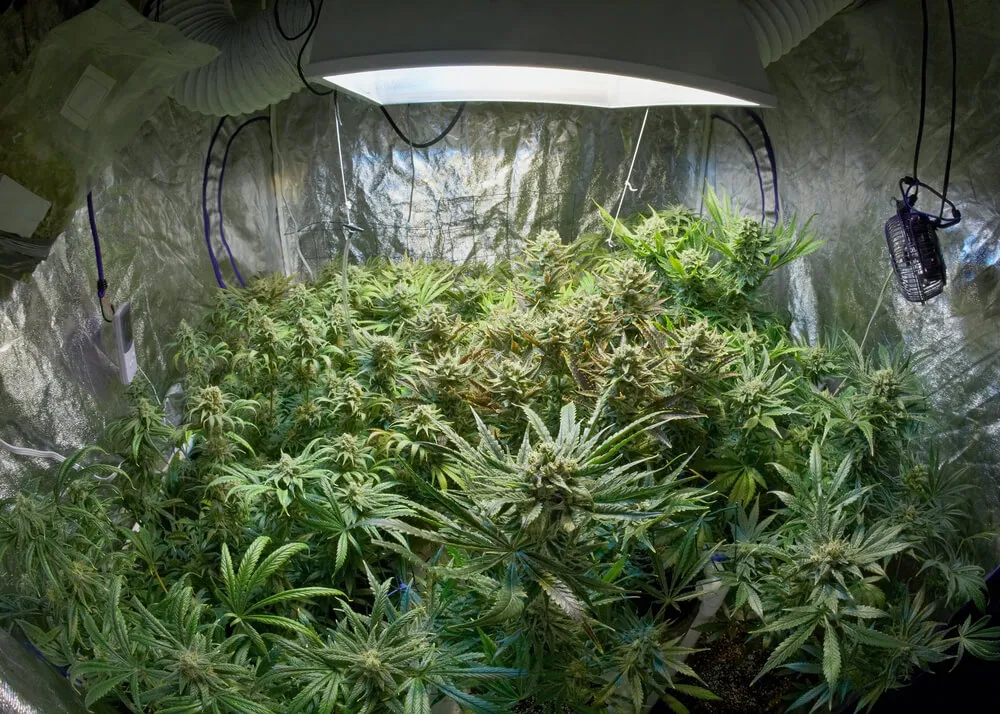
Since you will be using electricity and generating heat indoors, you will also have to take into account the added heat and ventilation required. If you are using HIDs or LECs, your setup might come with a hood. This will serve two purposes: to reflect the light from the bulb downward towards the plant canopy as well as to move heat away from the canopy. Fluorescents and LEDs generate much less heat, so heatsinks and other devices for reducing temperature will not be needed. Many HID rigs automatically come with water/air-cooled hoods that address this issue right away, however if you are using a simple non-cooled reflector or hood, you must take into account the heat that will build up above the canopy. Oscillating fans are a good solution for this if removing or cooling the air through the hood is not possible.
Additionally, to make the best use of light in a small space, such as a grow tent, reflective surfaces can go a long way at little cost. Foylon and Mylar work very well (over 90% effective) and are not terribly expensive. Mirrors also work but are nowhere near as effective as Foylon or Mylar. Aluminum foil should be avoided as it redirects light very erratically and ultimately wastes it. Simple, flat white paint is very inexpensive and comes very close to Mylar in terms of percentage of reflected light.
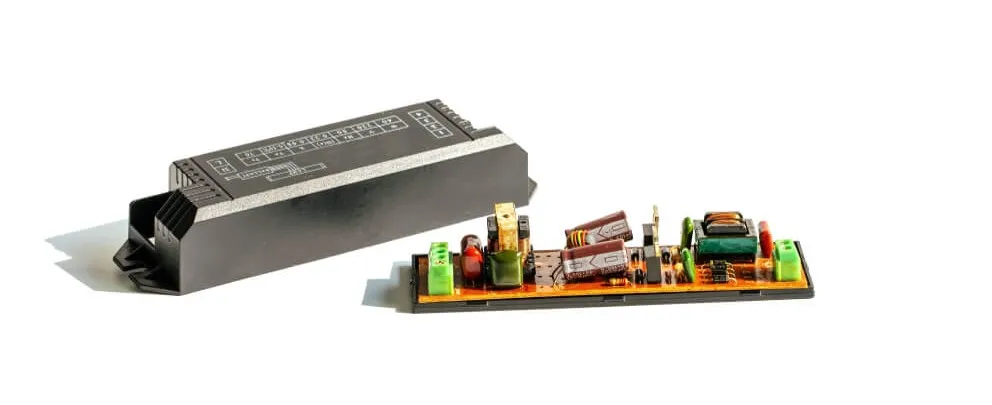
Additional Power Consumption
If using an HID or LEC system, your lamps will need to be converted to a higher voltage than what your electrical grid provides. This is where you will additionally need a ballast to keep your lighting system in working order. Ballasts can be magnetic or digital and depending on the brand, can easily be used for any HID lamp. Digital ballasts come highly recommended as they are quieter, lighter, cooler, more efficient, more precise and ultimately safer than their magnetic counterparts. If going the route of HIDs, this is a no-brainer. You will also want to utilize automatic timers for lights and fans. This will automate the light schedule for your plants, so no need to give yourself constant reminders about switching lights on or off. You can also use timers for fans to save additional energy or invest in voltage reducers to regulate the output of your ventilation system.
Pro Tips
- When dealing with lighting and electricity, safety must be your top priority. The simpler the system, the better. Unless you are a licensed electrician, it is not a good idea to toy around with wiring, plugs and cables. Do not overload your rig as things can quickly get out of hand and lead to a short circuit, shocks or electrical fires, the last thing any grower would want in their garden.
- Also make sure to keep electrical devices (including ballasts) ABOVE any kind of water in your garden and ideally somewhere you know water won’t reach any electrical equipment.
- Depending on your setup, you will be generating some heat, so vent properly in order to keep temperatures within range.
- For maximum efficiency, make sure your grow space is not leaking any light inwards or outwards. This can potentially stress plants if they are getting light at the wrong time but it also can reveal a grow room to nosy neighbors.
- Don’t forget to give your plants the right light schedule (auto vs photoperiod). Plants need rest as well and your wallet will also thank you.
Pro – Tip No. 1: Blue light can be used to sex a plant without putting the plant into full flowering mode. If you have non-feminized seeds, you can use all blue lights to determine the sex of your plant without switching over to flowering.
Pro – Tip No. 2: To operate in the dark while your plants are resting, use a green LED light as it contains no red light and will not disturb plants’ sleep.
Whether you are doing a micro grow with some CFLs, something a little more substantial with LEDs or CMH or a more professional setup with an HID system, you can now give your indoor plants the light they need with relative ease. Give them the right amount of time under those lights and at the right height, you will be counting the days to your harvest with glee. Even if you are feeling guilty about your carbon footprint, there are very efficient lighting systems that won’t be too hard on the environment or your wallet, provided your grow space is not too big and overloaded with lights and equipment. Of course nothing beats the sun for its performance and price, but with the right knowledge and smart decisions, you can grow quality cannabis year round indoors and sleep peacefully at night. Time to make your move.