Harvesting cannabis at the ideal time makes all the difference between exceptional bud and a mediocre harvest. As a breeder and grower, I’ve witnessed firsthand how timing impacts everything—potency, flavor, and yield. If you're wondering exactly when to harvest your cannabis plants, you're in the right place. Let’s walk through this step-by-step guide to master the art of harvesting cannabis for peak quality.
Understanding When to Harvest Cannabis Plants
Knowing precisely when your cannabis plants are ready to harvest will significantly impact your buds’ quality. Harvesting too early or late affects cannabinoid and terpene levels, ultimately influencing the potency, taste, and aroma of your cannabis.
Why Timing Matters for Potency and Yield
Timing is key because it directly influences the balance of cannabinoids like THC and CBD. Harvesting too early means missing peak potency; too late, and your THC may degrade into less potent cannabinoids like CBN. Proper timing boosts yield, giving you larger and denser buds. As an experienced grower, I’ve learned patience is your ally. Always resist the temptation to rush your harvest.
How Harvest Timing Affects Cannabinoid and Terpene Levels
Cannabinoids and terpenes develop during the flowering phase. Early harvesting results in higher THC-A and less CBD, providing more of a cerebral and energetic high. Whereas harvesting later, with amber trichomes present, will create a more relaxing, body-centered experience, thanks to increased CBN and CBD. This also impacts terpene profiles, meaning a late harvest usually enhances richer aromas. Harvesting later allows terpenes like myrcene, limonene, and pinene to fully develop, significantly enhancing the complexity, depth, and intensity of your cannabis's flavor and smell, creating an overall richer and more satisfying sensory experience.
Common Mistakes Growers Make When Harvesting Too Early or Late
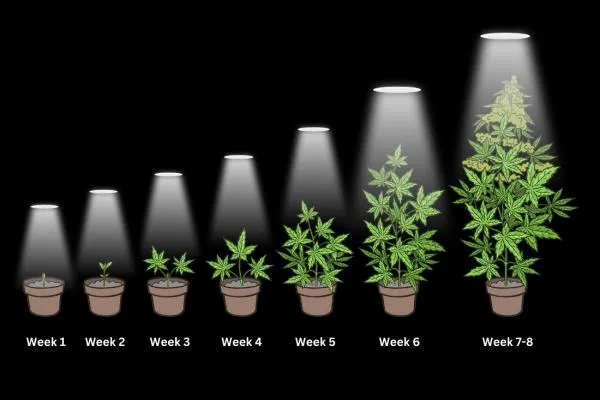
A common error is harvesting based solely on calendar dates according to a breeders guidelines - you need to remember these are just a rough guide and should only be used as one method to get the timing of your harvest right. Cannabis maturity depends on multiple variables, including genetics and environment. Early harvests yield weak, low-quality buds. Late harvests risk mold, THC degradation, and harsh taste. I always recommend daily plant inspections nearing harvest to avoid these pitfalls.
Signs and methods you can use to harvest your bud more accurately
Visual cues help identify precisely when you should harvest. Becoming familiar with these signs ensures your buds reach their maximum potential.
Checking Trichomes for Optimal Harvest Timing
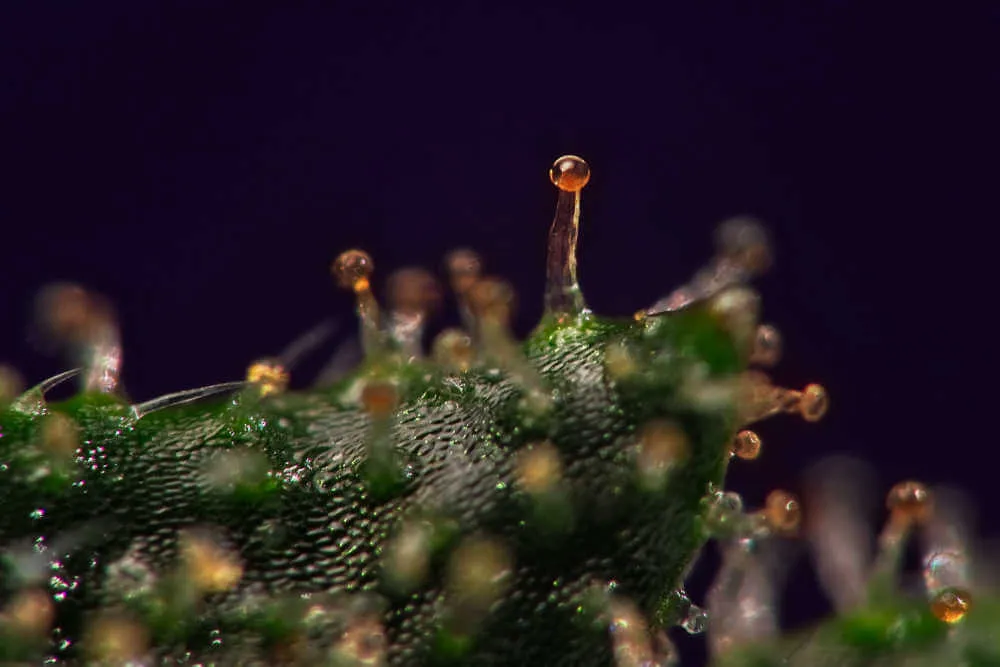
Trichomes are tiny, resinous glands on buds and leaves. Their color indicates cannabinoid maturity. I inspect trichomes regularly under a 60x magnifying glass:
- Clear Trichomes: Buds are immature.
- Milky White Trichomes: Optimal THC levels—perfect harvest window.
- Amber Trichomes: Indicates higher CBN—more sedative effects.
Aim for predominantly milky trichomes with about 10-20% amber for balanced potency.
Pistil Color and Maturity Indicators
Pistils (hairs) change color as cannabis matures. Initially white, they darken to red, orange, or brown. When 70-90% of pistils darken and curl inward, it’s another reliable indicator for harvesting. I often combine pistil observation with trichome checks for best results.
Changes in Leaf Appearance and Bud Density
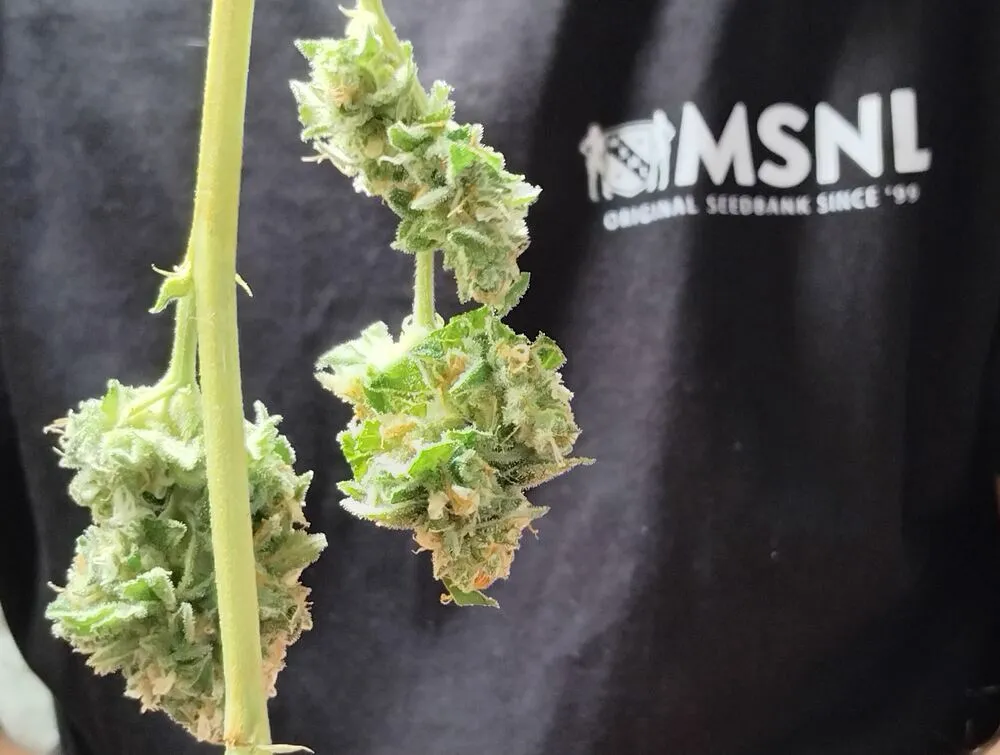
As harvest approaches, fan leaves often yellow and wilt. Buds swell significantly, becoming denser. A combination of dense, sticky buds, yellowing leaves, and mature pistils means your plants are ready for harvest.
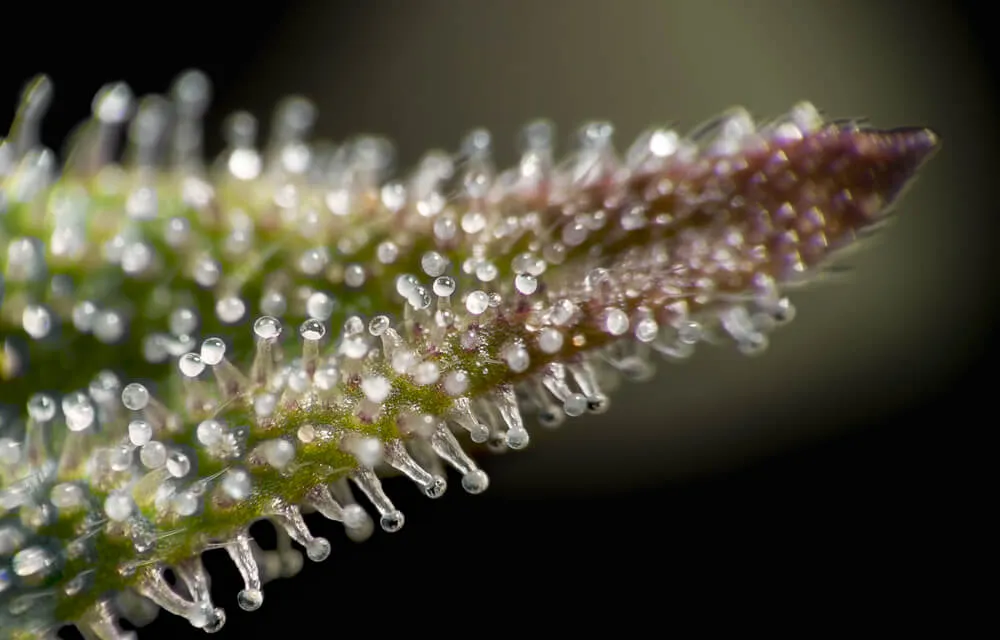
What do under-ripe trichomes look like?
Under ripe trichomes are fully clear/transparent and have not yet started to produce the proper amounts of cannabinoids and terpenes that we love so much. The effects of consuming these trichomes are lower, as they simply haven't had time to mature enough to do anything. They can also give a less calming effect when compared to riper trichomes.
These trichomes have not grown their bulbous head, and look more like tiny hairs under the microscope.
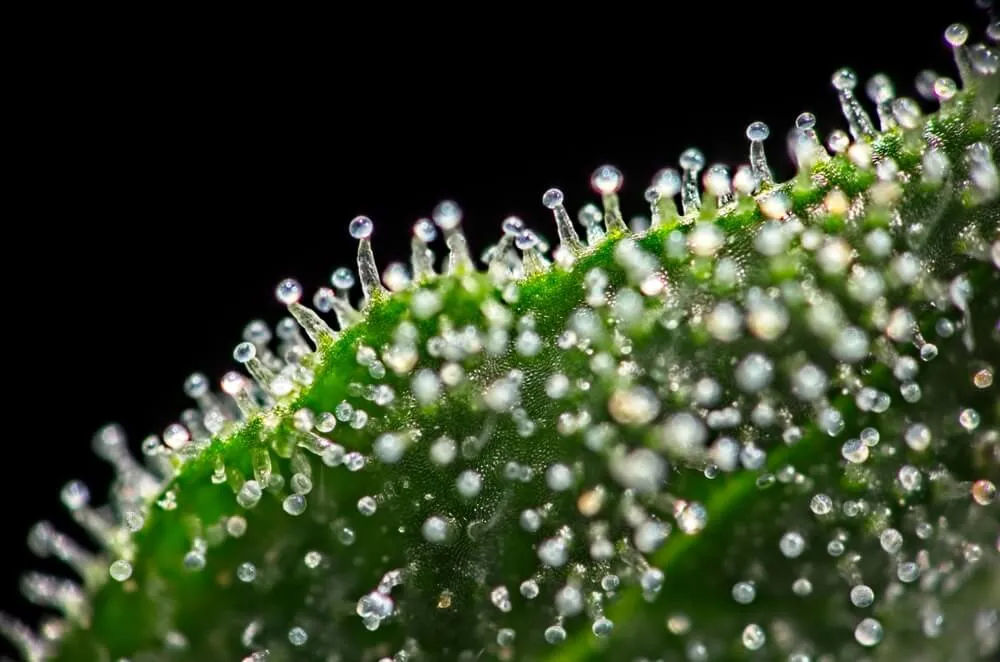
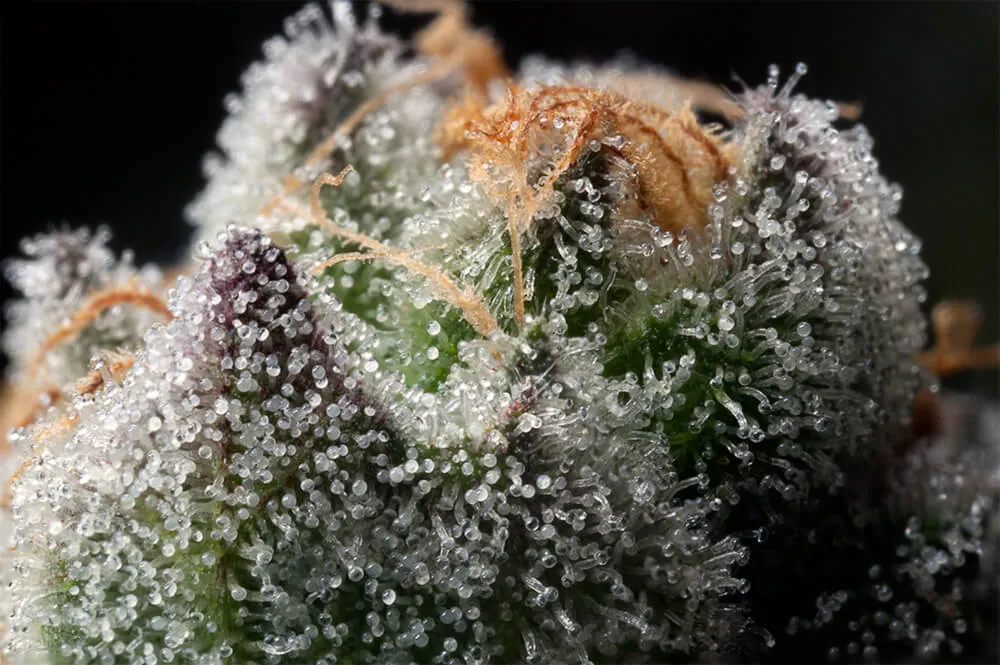
What do ripe trichomes look like?
Ripe trichomes are cloudy white and full of the cannabinoids and terpenes that we are aiming to harvest. These are the ones you want to be looking for when you cut down your crop. They have developed the bulbous head at this stage and will produce a more cerebral and psychotropic effect than amber/brown trichomes. This is due to the fact that CBD and CBN production is still low but THC levels are quite high, although they have not yet peaked.
What do over-ripe trichomes look like?
Overripe trichomes have started to turn amber/brown in color and have lost some of their THC potency, but are much higher in CBD and CBN. The effects of consuming these trichomes are more physical in nature and can range from couch-lock to sleepiness. These trichomes may have lost most of their bulbous heads at this stage.
Step-by-Step Guide to Harvesting Cannabis
After determining harvest readiness, follow these detailed steps for optimal results.
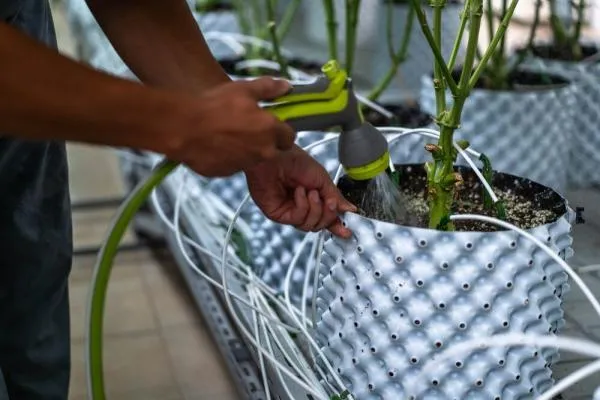
Preparing Your Cannabis Plants for Harvest
Preparation is straightforward:
- Cease nutrient feeding 1-2 weeks prior.
- Flush plants with water to remove nutrient residue, improving taste.
- Schedule harvest for the morning when cannabinoid levels peak.
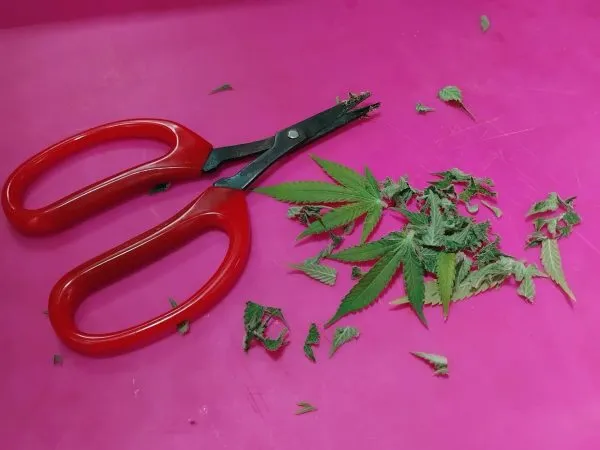
Essential Tools Needed for Harvesting Cannabis
To harvest effectively, you’ll need:
- Clean pruning shears or scissors
- Disposable gloves
- Magnifying glass or jeweler's loupe
- Drying racks or hanging lines
- Hygrometer for drying and curing
Using sterilized tools prevents contamination and maintains bud quality.
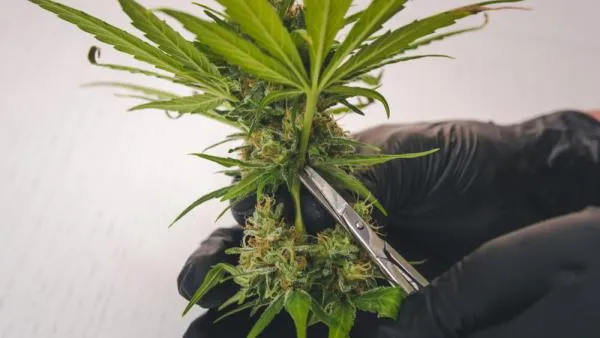
How to Properly Cut and Handle Cannabis Buds
I recommend cutting branches individually at their base. Gently handle buds to prevent trichome damage. Remove larger fan leaves immediately, but leave sugar leaves to protect buds during drying. Treat your harvested buds with care—they’re covered in delicate resin glands you want intact.
Drying and Trimming Your Cannabis Harvest
Drying and trimming are critical steps to finalize your bud’s quality, taste, and potency.
Techniques for Drying Cannabis Correctly
Hang branches upside-down off of a line or clothes hanger individually or place them on mesh drying racks, ensuring buds have space to breathe. Airflow is necessary but avoid direct wind or heat, which can degrade cannabinoids and terpenes.
The Ideal Environment and Duration for Drying
Aim for these ideal drying conditions:
- Temperature: 60-70°F (15-21°C)
- Humidity: 50-60%
- Duration: Usually 7-14 days
Buds are dry when stems snap easily rather than bend.
Wet vs. Dry Trimming: Which Method Is Better?
Choosing trimming methods depends on preference:
- Wet trimming: Immediate trimming after harvest. Easier and quicker, but may affect terpene retention.
- Dry trimming: Trimming after drying, better for preserving terpenes and overall bud quality.
I prefer dry trimming to maximize flavor and potency.
Curing Cannabis: Enhancing Quality and Flavor
Proper curing is often overlooked but dramatically improves bud quality.
Why Curing Cannabis is Essential
Curing allows buds to develop smoother smoke, enhanced flavors, and stabilized cannabinoids. It’s the secret to dispensary-quality cannabis, transforming good buds into great ones.
How to Cure Cannabis Buds Step-by-Step
Curing cannabis is straightforward, but attention to detail makes all the difference. Proper curing involves a meticulous process of controlling moisture, air exchange, and temperature. This gradual refinement allows chlorophyll to break down, reducing harshness and enhancing the complexity of flavors. As curing progresses, terpenes mature and stabilize, dramatically enriching the aroma and taste of your buds. Ultimately, curing transforms your cannabis from merely dried buds into smooth-smoking, aromatic masterpieces ready to deliver an exceptional experience.
- Trim dried buds and place them in airtight glass jars, about 75% full.
- Store jars in a dark place at about 60-70°F (15-21°C), humidity around 60%.
- Open jars daily (burping) for the first week, reducing frequency over 2-4 weeks.
The curing process can continue indefinitely, improving bud quality progressively.
Avoiding Common Mistakes During the Curing Process
Many growers overlook small details during curing, unintentionally harming their buds' final quality. Overcrowding jars restricts air circulation and can lead to mold growth or uneven moisture distribution. Skipping or inadequately performing daily burping during the initial curing stage traps excess moisture and gases, negatively affecting aroma and potency. Conversely, excessive burping can dry your buds out too rapidly, resulting in harsh, brittle flowers. Additionally, curing cannabis in overly humid environments encourages mold, while overly dry conditions prematurely halt terpene development and result in crumbly, flavorless buds. Regularly inspect buds by feeling their texture and smelling their aroma—let your senses guide you in maintaining the ideal curing environment.
Frequently Asked Questions About Harvesting Cannabis
How long do you let buds dry after harvest? Ideally, buds should dry for about 7-14 days, depending on environmental conditions. When stems snap easily instead of bending, buds are ready for curing.
What should cannabis look like when ready to harvest?
Cannabis ready for harvest usually features dense, swollen buds, mostly darkened pistils, and milky or slightly amber trichomes.
Do you need to give your plants 3 days darkness before harvesting?
While not mandatory, many growers practice 48-72 hours of darkness before harvest to potentially boost resin production, though scientific support is limited.
Is it better to harvest in the morning or at night?
It's better to harvest in the morning since cannabinoid and terpene levels peak after the nighttime period, ensuring optimal potency and aroma.
What is the 60 60 drying method?
The 60/60 drying method involves drying buds at around 60°F (15°C) and 60% humidity, creating an optimal drying environment that preserves flavor and potency.
How long do you leave buds dry before putting them in a jar?
Buds are typically dried for 7-14 days before jarring. They should feel dry but slightly spongy, and stems should snap when bent.
What happens if buds are too dry after drying?
If buds become overly dry, they may become brittle, harsh, and lose potency. Rehydration packs can help restore proper moisture levels to overly dried buds.
Harvesting cannabis is as much an art as it is a science. Timing is everything, and by carefully observing your plants, using proper harvesting methods, and meticulously drying and curing your buds, you’ll achieve remarkable cannabis quality. With experience, these skills become intuitive, ensuring consistently exceptional harvests season after season.