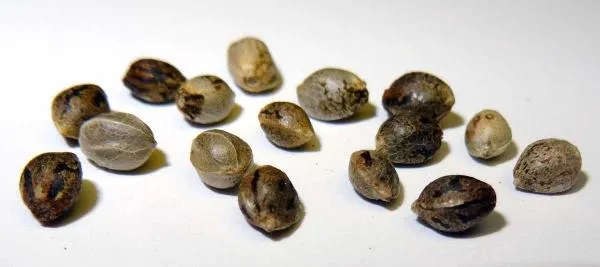
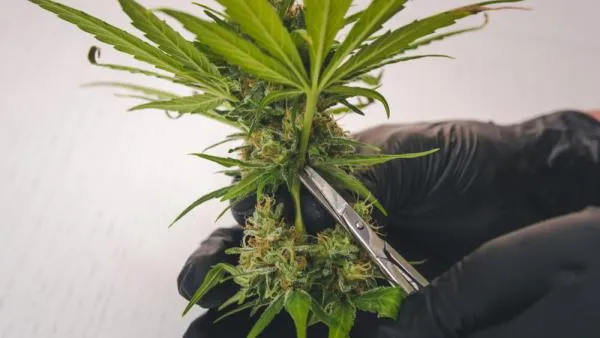
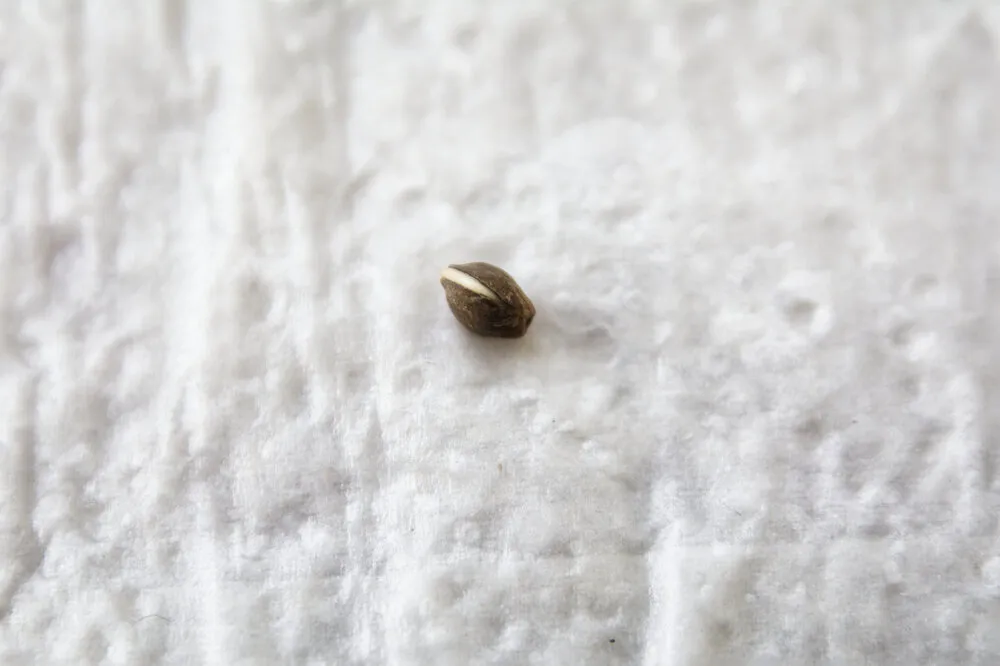
Before you start your autoflower grow the first step is to germinate the seeds. In this tell-all guide, we’ll walk you through a step-by-step process of each of the autoflower germination methods, dish out expert advice on soil selection, how to go about popping older seeds and reveal the optimal conditions for to get them sprouting. So roll up your sleeves and lets begin germinating those autoflower seeds.
- What conditions do autoflower seeds need to germinate?
- Different ways of germinating autoflowering seeds
- Tips to Improve Autoflower Germination
- How long does it take autoflower seeds to germinate?
- Do Autoflowers need light to sprout?
- What soil should you germinate autoflowers in?
- What is the ideal temperature for autoflower germination?
- How long is the seedling stage for Autoflowers?
- The Takeaway
What conditions do autoflower seeds need to germinate?
First things first, to successfully germinate autoflower seeds, you need to create an environment that supports their growth. Let’s break down the essentials:
Warmth: Autoflower seedlings thrive in temperatures between 70°F to 80°F (21°C to 27°C). This temperature range encourages rapid germination. Be wary of extremes, as temperatures too low or high can hinder the process.
Moisture: Water is a catalyst in the germination process. It’s critical to maintain a moist environment without drenching the seeds.
Air: Seeds need oxygen for germination. Ensure there's good airflow, but avoid direct drafts which can dry out the seeds.
Darkness: While some light can be beneficial, generally, autoflower seeds germinate best in darkness.
Different ways of germinating autoflowering seeds
There are several methods to germinate autoflower seeds. We’ll take you through four popular techniques: using paper towels, rockwool or peat pellets, soaking in water, and planting directly in soil.
Germinating autoflower seeds in paper towel
This classic method is popular for a reason - it's effective and simple. Here’s how:
- Gather Materials: You’ll need autoflower seeds, paper towels, two plates, and a warm, dark place.
- Moisten the Paper Towels: Dampen two paper towels. Lay one on a plate, ensuring it’s moist, not soggy.
- Place Seeds: Scatter your seeds on the damp paper towel, giving them space to expand.
- Cover and Store: Place the second moist paper towel over the seeds, and cover with the other plate. Store in a warm, dark place.
- Monitor and Plant: Check daily for sprouting, which should occur in 2-7 days. Once the root is about a quarter-inch long, it's time to plant them in soil.
Germinating autoflower seeds in rockwool or peat pellets
For those looking to provide a stable medium from the get-go, using rockwool or peat pellets is an excellent option.
- Preparation: Soak your rockwool or peat pellets in water for a few hours.
- Place Seeds: Make a small hole in the pellet, around 1/4 inch deep. Place a seed inside, then gently cover it.
- Provide Ideal Conditions: Place the pellets in a tray with a dome cover to retain humidity. Keep in a warm area.
- Transplant: Once the seedlings have emerged and developed a set of true leaves, they’re ready to be planted into pots or garden beds.
Soaking autoflower seeds in water
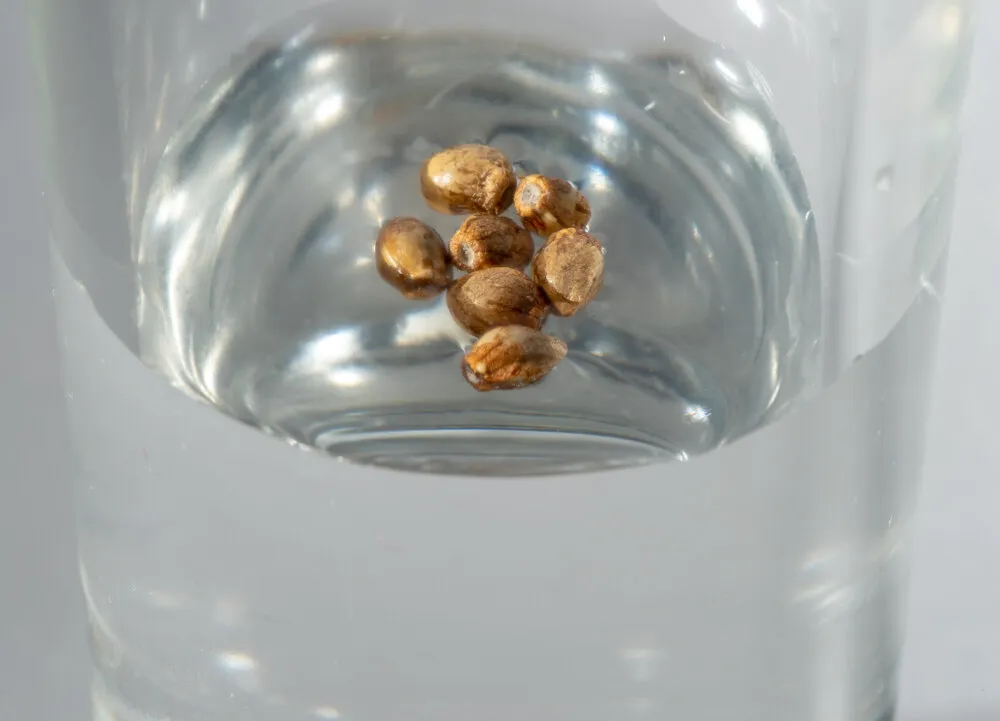
This method is a simple and efficient way to jump-start the germination process.
- Fill a Glass: Fill a glass with lukewarm water (not too hot or cold).
- Add Seeds: Gently add your autoflower seeds to the water.
- Wait: Leave the seeds soaking for 24 to 48 hours, but not more. You should see the seeds crack open and a small root emerging.
- Plant: Carefully remove the seeds and plant them in your chosen medium.
How do you germinate Autoflower seeds directly in soil?
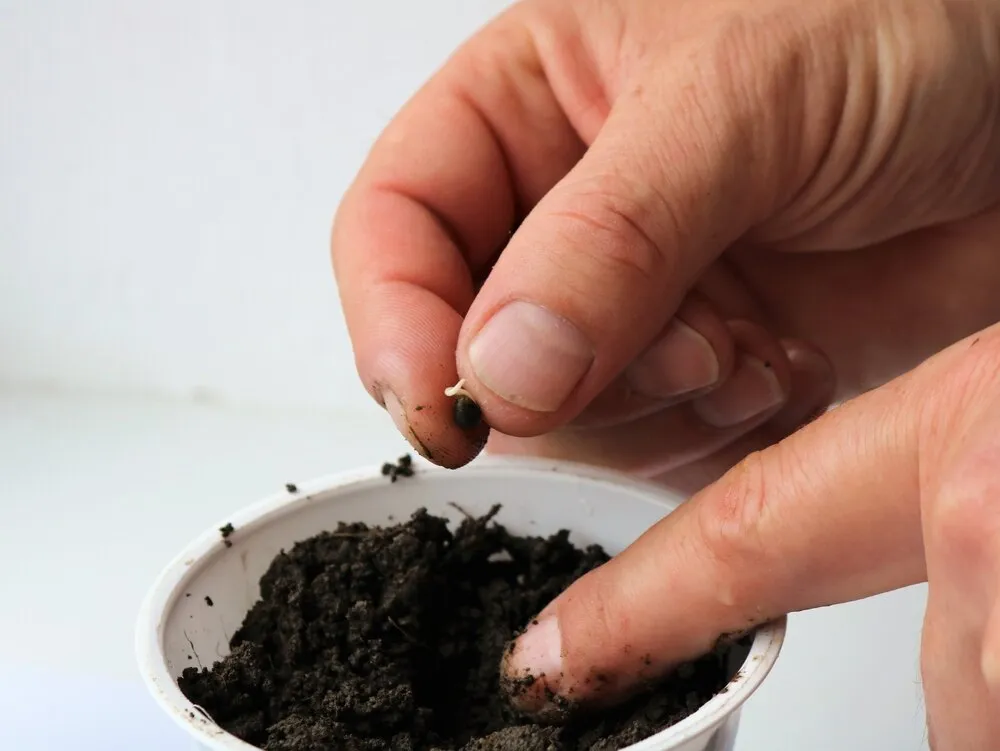
This method mimics nature and can be the most straightforward approach.
- Prepare Pots: Fill pots with a good quality potting mix. Make sure the pots have drainage holes.
- Plant Seeds: Plant the autoflower seeds about 1/4 inch deep into the soil.
- Water Carefully: Gently water the soil with a sprayer. Avoid flooding the soil.
- Provide Warmth and Darkness: Place pots in a warm area and keep them in darkness until the seedlings emerge.
- Introduce Light Gradually: Once the seedlings break through the soil, gradually expose them to light.
Tips to Improve Autoflower Germination
Armed with knowledge on how to germinate autoflower seeds, let’s polish your green thumb skills even further. Follow these tips to make your germination process even more fool proof.
Scarify Older Autoflower Seeds
Some seeds have a tougher outer shell which can make it difficult for them to absorb water. This is where scarification comes in. Essentially, you’ll need to create tiny abrasions on the seed’s surface to weaken the outer shell and improve water uptake.
How to do it: Gently rub the seeds between two pieces of sandpaper or use a nail clipper to nick the shell. Be careful not to damage the inner part of the seed.
Why do it: Scarification can significantly increase the germination rate, especially for older seeds.
Plant the Right Way Up
Orientation matters when you germinate autoflower seeds. Seeds have a natural top and bottom. The top is usually more rounded, while the bottom, where the root emerges, is flatter and may have a small dimple.
How to do it: Plant the seed with the bottom facing down. If you’re having trouble identifying top from bottom, plant the seed on its side and it will usually orient itself correctly.
Why do it: Proper orientation can lead to a smoother germination process. It ensures that the taproot encounters fewer obstacles, reducing the risk of it growing in the wrong direction.
Plant at the Right Depth
Planting depth is critical. Too shallow and the roots may not establish well; too deep and the seedling may struggle to break through the surface.
How to do it: As a rule of thumb, plant the seeds about 1/4 to 1/2 inch deep.
Why do it: Planting at the right depth ensures that the seedling doesn't expend all its stored energy trying to reach the surface. It also helps in protecting the young plant from drying out too quickly.
Don't Let the Soil Dry Out
Consistent moisture levels are key. The growing medium should be damp but not waterlogged.
How to do it: Use a spray bottle to gently moisten the soil. It’s also a good practice to cover the container with a plastic wrap or a dome to retain humidity.
Why do it: Seeds need moisture to germinate. Allowing the soil to dry out can cause the delicate roots to dry up, effectively killing the seedling.
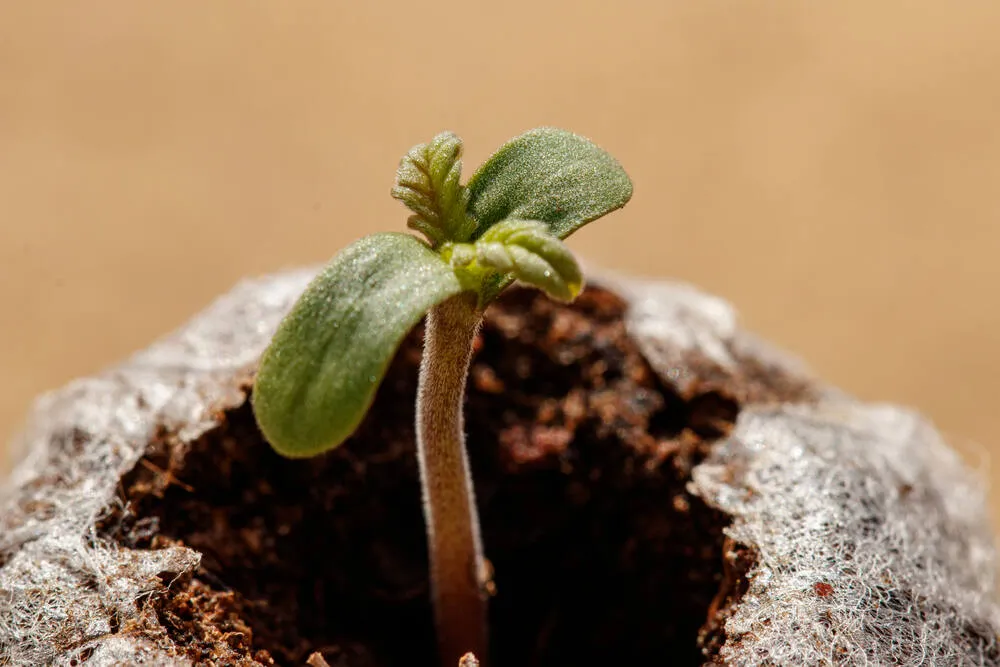
How long does it take autoflower seeds to germinate?
Autoflower seeds typically take between 2 to 7 days to germinate. Various factors, such as the age of the seeds, environmental conditions, and the germination method used, can affect this timeline. It's important to provide optimal conditions and patiently wait for the seeds to sprout.
Do Autoflowers need light to sprout?
Autoflowers do not need light to germinate. In fact, they often sprout better in a dark environment. Once the seedlings have broken through the soil, that’s when they need light.
What soil should you germinate autoflowers in?
For germinating autoflowers, it's best to use a light and airy soil mix with good drainage. Many growers opt for seed-starting mixes that are often peat-based. Living soils containing compost, bat guano and worm castings are great because they contain a naturally high level of nutrients, plenty of keeping an autoflower plant healthy for the first 3-4 weeks of its life.
What is the ideal temperature for autoflower germination?
The ideal temperature range for germinating autoflower seeds is between 70°F to 80°F (21°C to 27°C). Maintaining this temperature range ensures that the seeds have the warmth they need for optimal germination. It’s also crucial to avoid drastic temperature fluctuations.
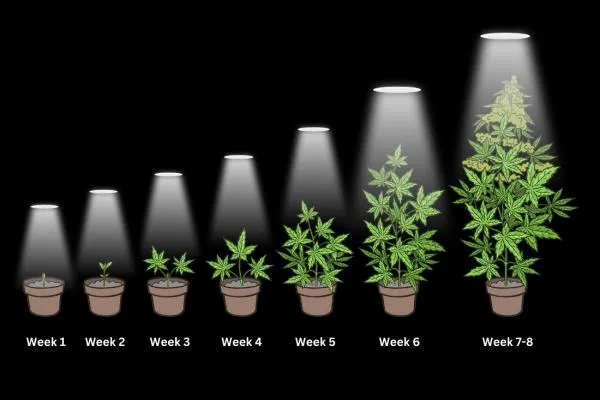
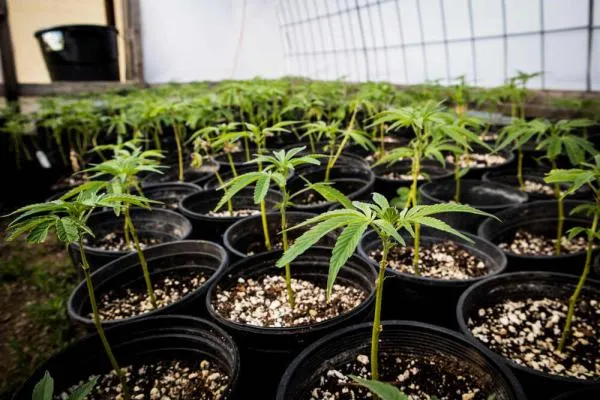
How long is the seedling stage for Autoflowers?
The seedling stage for autoflowers generally lasts for about 2 to 3 weeks. During this period, the plants will develop their first sets of leaves. It’s critical to provide adequate light, maintain optimal temperatures, and ensure that they receive the right amount of water during this stage to set the foundation for a healthy plant.
The Takeaway
Germinating autoflower seeds is an exciting venture. It’s the first step towards cultivating your own lush garden. By understanding the conditions necessary for germination and employing the tips we’ve discussed, you’ll be well on your way to mastering the art of germination. Keep in mind that practice makes perfect. Don’t be disheartened by initial failures; instead, use them as learning experiences to refine your technique. Happy growing!