Thinking of how to set up a cannabis grow room at home? This article is your blueprint for creating an efficient and successful grow room from scratch using either a tent or a DIY grow room. We’ll cover everything including planning your grow space, choosing the right location, the necessary equipment needed and an easy-to-follow step-by-step guide to constructing your own grow room.
By the end, you’ll have a complete understanding of what it takes to cultivate your own high-quality cannabis indoors. Get ready to transform a simple room into a thriving green haven!
Planning your grow room
Building your own cannabis grow room requires a reasonable amount of planning. Start by thinking about how many plants you are looking to grow, what budget you are setting for yourself and what grow medium you will be using.
How many plants are you growing?
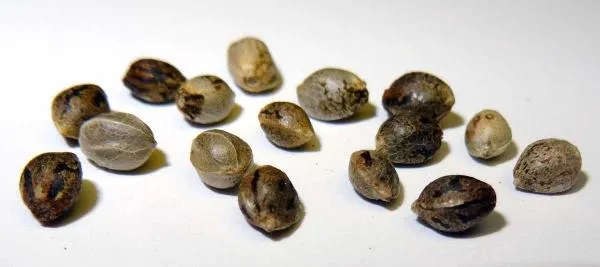
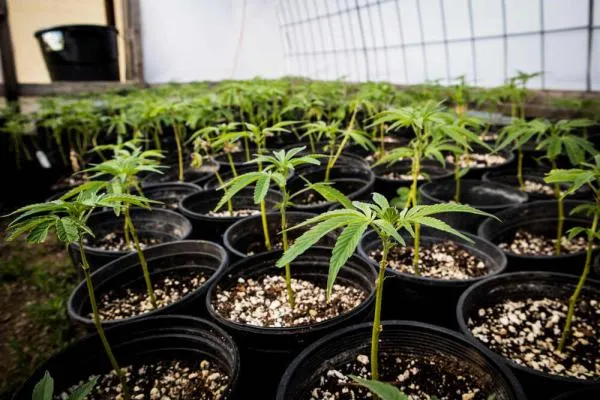
First and foremost, determine the number of plants you wish to cultivate. This decision will influence the size of your grow room, the equipment you'll need, and the maintenance required. For those of you that are new to growing cannabis, start with a small number of plants, such as 1-3, is advisable. This allows you to focus on understanding the plants' needs without becoming overwhelmed. It's also worthwhile starting with easy to grow cannabis seeds that have been hand picked for their difficulty level and are suitable for smaller indoor grow spaces.
What is your budget?
Next, consider your budget. Establishing a grow room can range from relatively cheap to quite expensive depending on your goals and desired yield. Remember, you'll need to cover the cost of lights, fans, grow medium, cannabis seeds, and potentially other equipment. It's essential to strike a balance: you don’t want to overspend, but quality equipment can lead to better yields and fewer problems down the line.
What grow medium will you be using?
Lastly, decide on your grow medium. There are various options available, each with its own set of pros and cons.
- Soil: The traditional growing medium that is beginner-friendly and often requires fewer nutrients at the beginning of a plant’s lifecycle. Good quality organic soil can lead to flavorful buds.
- Coco Coir: Made from the husks of coconuts, it’s a sustainable and pH-neutral option. It allows for tighter control over nutrient levels but requires regular feeding.
- Hydroponics: This involves growing plants in water enriched with nutrients. It can result in faster growth and larger yields but is more complex and can be less forgiving than soil-based grows.
Choosing the right space for your grow room
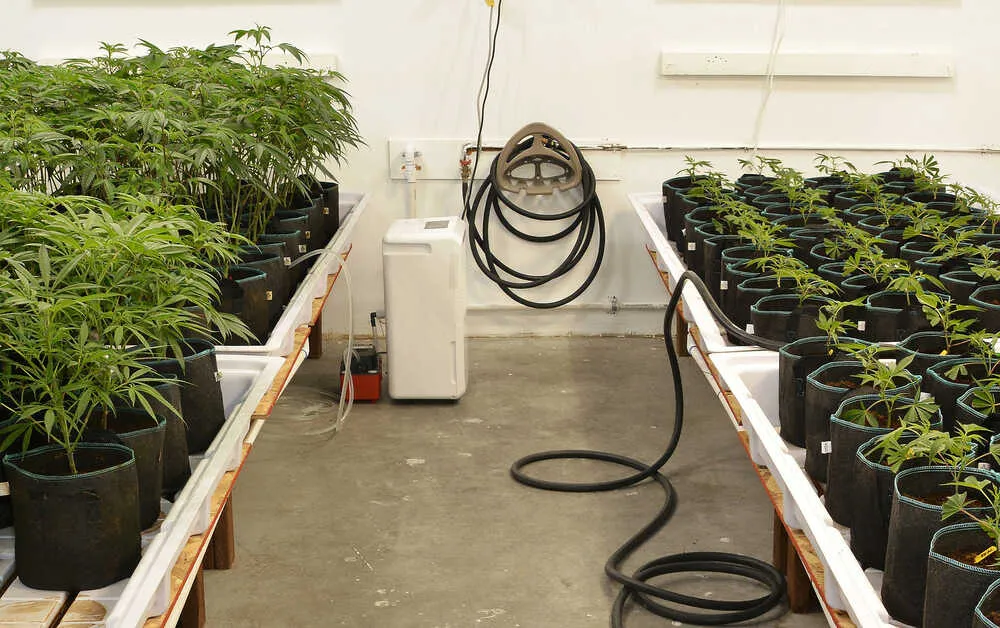
When building your own cannabis grow room, selecting the appropriate space is crucial as it sets the foundation for the entire growing journey.
What size does it need to be?
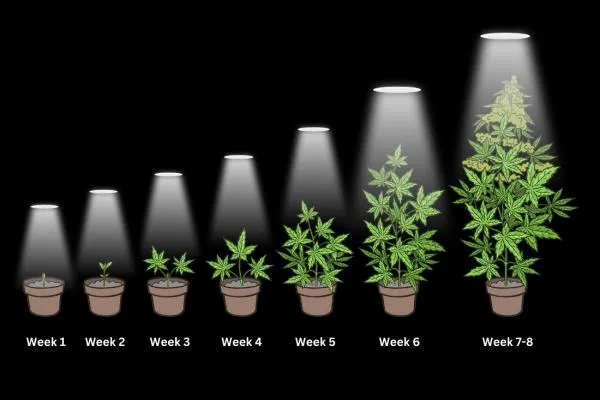
Fundamentally, the size of your grow room largely depends on two factors: the number of plants you intend to grow and the type of growing medium you plan to use. When choosing a space, always think vertically too. Cannabis plants can grow tall, especially if they’re not trained. Ensure there's enough headroom, not just for the plants but also for the growing equipment that will need to be above them, such as the lighting systems, fans and filtration.
Does it have access to electricity and water?
Firstly, it's essential that the chosen space has access to both electricity and water. Electricity will play a vital role in the lighting, temperature control, and powering other necessary equipment. On the other hand, water is fundamental for the hydration and nutrition of your cannabis plants. It's important to ensure that you have a sufficient and reliable supply of both. Having easy access to these resources will make your growing journey more efficient and less labor-intensive.
Does it have ventilation?
Next, ventilation is another key factor to consider. A well-ventilated space can help prevent the build-up of heat and humidity, which are two conditions that can quickly lead to the growth of mold and other harmful diseases . Moreover, proper air circulation ensures that your cannabis plants receive plenty of fresh carbon dioxide, which is essential for photosynthesis. Choose a space that allows for the installation of fans or air conditioning units, or even better, a space with existing ventilation systems in place.
Can you easily lightproof the room?
Light control is a crucial aspect of cannabis cultivation. Your plants need periods of complete darkness to trigger flowering. Any light leaks can disrupt this cycle and lead to reduced yields or even cause your plants to revert to the vegetative stage.
Selecting a space that can easily be made lightproof helps ensure your plants get the darkness they need when they need it, promoting healthy and productive growth.
How clean is the room?
Good Hygiene cannot be stressed enough when growing cannabis. A clean environment minimizes the risk of pests and diseases, leading to healthier and larger yields.
Start by thoroughly cleaning the selected space. Remove any clutter, vacuum the floor, and wipe down all surfaces. Using a mild bleach solution can effectively disinfect surfaces and eliminate potential contaminants. Once done, ensure the room is dried completely, as excess moisture can attract fungal spores.
Remove any carpets or fabrics from the flooring, as they tend to hold dust, mold and unwanted pests. Consider using plastic or rubber mats instead. They’re easy to clean and can prevent water damage or mold growth.
It is important to regularly inspect for mold, pests and other diseases throughout your growing cycle. Early detection can save your entire crop.
What equipment do you need for a grow room?
Setting up a cannabis grow room requires specific equipment to ensure optimal growth conditions for your plants.
Grow tent vs DIY grow room setup
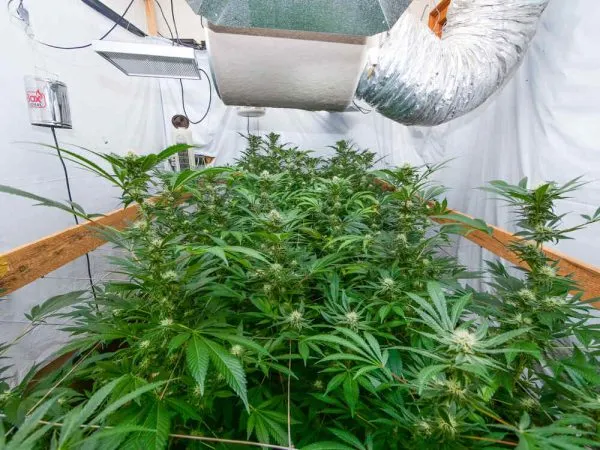
A pre-made grow tent offers the advantage of convenience. It comes with built-in features like reflective material, ventilation ports, and lightproof construction. However, it may restrict you in terms of size and customization.
On the other hand, a DIY grow room setup provides flexibility. You can tailor the space to your exact needs, which is beneficial for larger or more complex grows. However, it requires more effort and skill to set up correctly, plus it can end up costing significantly more.
Lighting systems
Different types of lights can be used in indoor cannabis grow rooms, including High-Intensity Discharge (HID) lights, Fluorescent Grow Lights, and LED Grow Lights. Among these, Chip On Board (COB) LED lights are the easiest system to use. They offer high efficiency, long lifespan, and full-spectrum light, making them ideal for indoor cannabis growing.
Carbon Filters and ducting
Carbon filters are essential for odor control in your grow room, while ducting facilitates proper air circulation and temperature regulation.
Mylar or Orca film
For DIY grow rooms, Mylar or Orca film is used to make the space lightproof and enhance light reflection, ensuring your plants receive sufficient light.
Climate control
Controlling temperature and humidity is critical in a grow room. Dehumidifiers, fans and temperature and humidity monitors are commonly used. In hot countries, air conditioning units might be necessary to keep temperatures within the optimal range.
Pots
There are many types of pots available, including fabric, plastic, and clay pots. Regardless of what type you choose to use, itshould have a drip tray underneath to catch excess water and prevent spillage.
Drip Trays
Drip trays are an essential part of the setup, as they prevent water damage and make it easier to manage runoff. They also help maintain a cleaner and more efficient environment.
Watering can/Mixing bucket
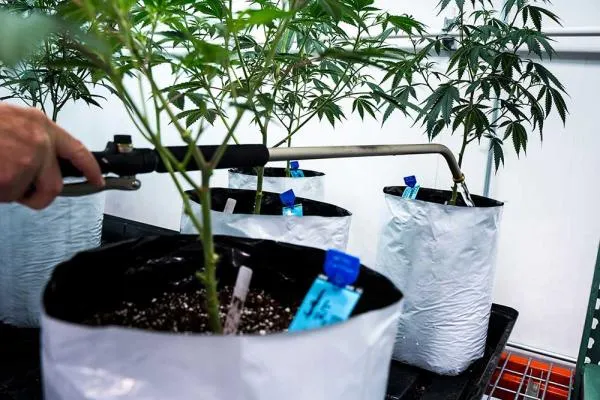
A watering can with a spout is ideal for watering hard-to-reach spots. For large grows, a mixing bucket may be needed to mix nutrients into the water.
Grow Room Safety
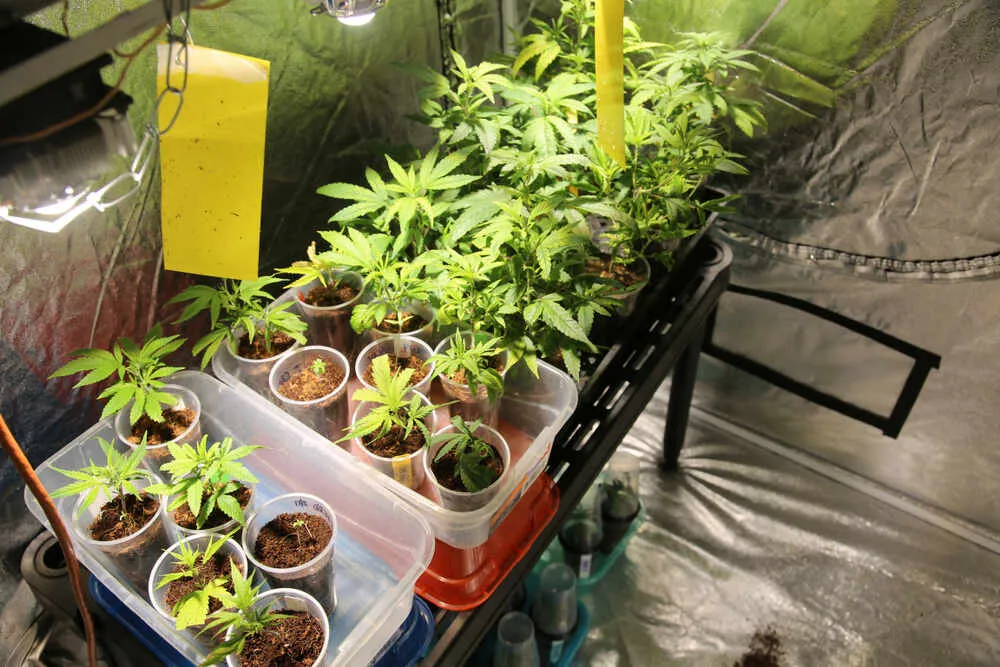
When you have lots of water, electrical equipment, hot lights and wires its really important to keep your grow room clean and tidy and organized, but also implement some basic safety rules.
- Elevate all electronics off the ground to prevent damage from water leaks.
- Use fans to counter potential overheating of devices.
- Install a ground fault circuit interrupter (GFCI) to prevent unwanted electrical discharges.
- Meticulously organize your space.
- After use, promptly tidy away tools.
- Manage cables effectively with zip ties.
- Address any exposed wiring immediately.
- Avoid accidents, like tripping, that could injure you or damage your plants.
- Be prepared for potential fires:
- Install a fire alarm.
- Keep a fire extinguisher accessible, ideally models with dry chemical powder or CO₂ for electrical fires.
- Consider having an extinguisher ball above your grow space; it detonates when exposed to high heat, releasing fire-suppressing agents.
How to build a DIY grow room
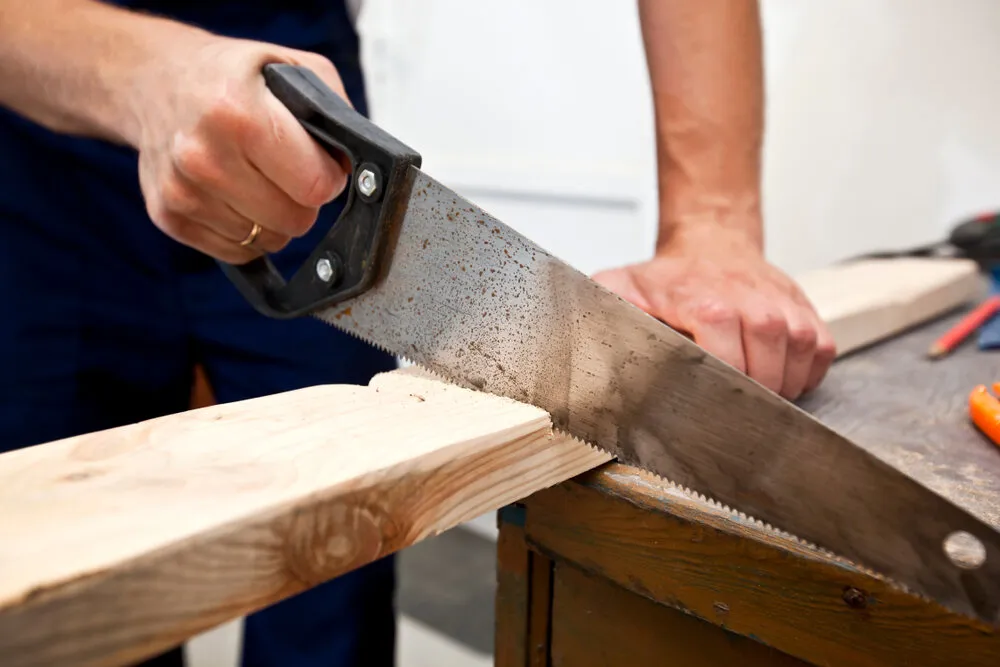
Gather Materials
Before you start, ensure you've gathered all required materials. This preliminary stage saves time and makes the process more efficient.
- Wood (preferably moisture-resistant, like plywood)
- Mylar plastic sheet (sufficient to cover the interior of your frame)
- Screws (stainless or rust-resistant)
- 4x4 timber (treated to resist pests and decay)
- Chosen lighting system
- Adjustable ropes or chains for mounting
- Timer (for automated light cycles)
- Ducting
- Carbon filter
- Inline fans
- Climate control devices (thermometer, hygrometer)
- Humidifier or dehumidifier (if required)
- Pots
- Drip trays
- Growing medium
STEP 1: Building the Frame
Use the 4x4 timber to build the framework for your grow room. The dimensions will depend on your desired size. Ensure the frame is sturdy by securing all joints with screws.
Instructions:
- Measure the desired dimensions of your grow room.
- Cut the 4x4 timber according to your measurements.
- Assemble the timber pieces, ensuring corners meet at right angles.
- Secure all joints and intersections with screws.
STEP 2: Cover with Mylar Sheet
Attach the Mylar sheet to the interior of the frame. Make sure it's tightly fastened to prevent light leaks and maximize light reflection inside the room.
Instructions:
- Measure the interior of the frame.
- Cut the Mylar sheet slightly larger than your measurements to allow overlap.
- Starting from one end, attach the Mylar sheet to the interior using adhesive tape or staples.
- Smooth out the sheet, ensuring no gaps or creases, and secure it tightly to maximize reflection.
STEP 3: Installing the Lights
Mount your chosen lighting system in the room. Arrange the lights to provide even illumination for all areas where plants will be placed.
Instructions:
- Decide on your lighting system (LED, HPS, or CFL are common choices).
- Mount the lights in a manner that they cover all areas evenly.
- Adjust height as needed, ensuring all plants receive equal illumination.
STEP 4: Arrange Ventilation and Climate Control Equipment:
Install ducting and a carbon filter for air circulation and odor control. Set up climate control devices to monitor and regulate temperature and humidity levels.
Instructions:
- Determine the intake and exhaust points in your room.
- Install ducting from the intake point, leading towards your carbon filter and finally, towards the exhaust point.
- Place climate control devices in strategic locations to get accurate readings.
STEP 5: Place Pots and Drip Trays:
Position your pots on drip trays within the grow room. Fill the pots with your chosen growing medium.
Instructions:
- Determine the best layout based on light distribution.
- Place drip trays in the desired spots.
- Set pots on drip trays.
- Fill pots with chosen growing medium (e.g., soil, coco coir).
Conclusion
In this article, we've walked you through the essentials of building your own cannabis grow room, from choosing the right space to gathering the necessary equipment and step-by-step construction. You're now equipped with the knowledge to create a tailored environment for your cannabis plants to thrive. Remember, every detail counts in this exciting venture. So, roll up your sleeves and get started on your DIY grow room project.
