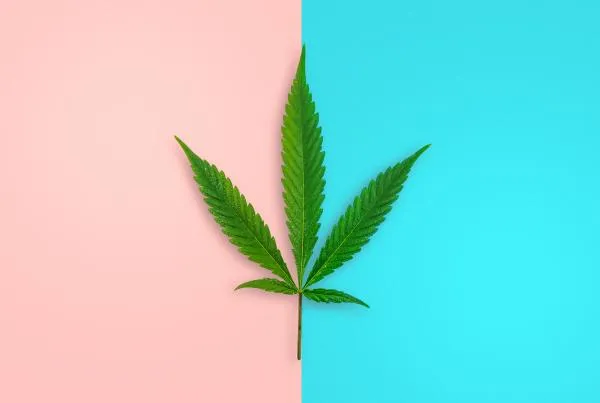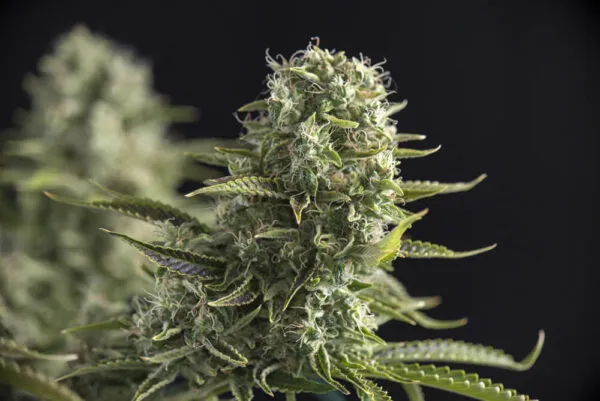
Unless you have never consumed, touched, or seen cannabis buds before (i.e. you have been living under a rock), you will know that the prize of any cannabis plant are the flowers containing the highest concentrations of THC. Yes, we all love the aesthetics of the serrated cannabis leaf and its symbolism, but flowering cannabis is where it’s at in terms of scents, flavors and most importantly, effects.
Until the plant enters the flowering stage, it can theoretically remain in the vegetative stage for an indefinite period, at least indoors. So, at what point does the plant transition to becoming marijuana flower and how can you tell? Keep reading below to find out what stage of flowering you are in and when you can expect to harvest some big fat juicy buds.
What is the cannabis flowering stage?
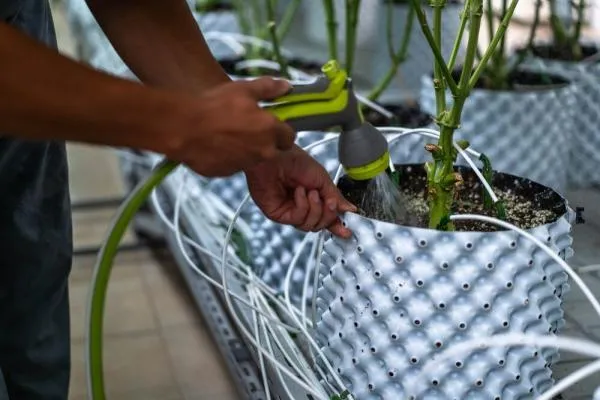
The cannabis flowering stage is when your plant switches from vegetative growth to producing bud. Outdoors it is triggered as daylight hours decrease, indoors it is triggered by changing to a 12/12 light cycle. It’s a crucial stage because the buds are the part of the plant that is rich in cannabinoids like THC.
Without a successful flowering stage your plant may not yield very much, or what it does yield could be poor quality so its vital to take extra care of your plants during this time.
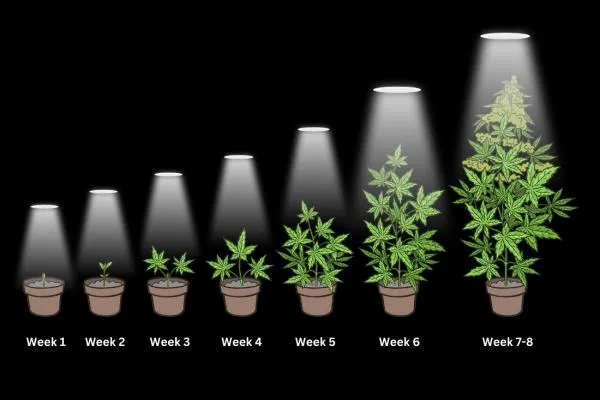
What is the duration of the cannabis flowering stage?
The flowering stage lasts 8-12 weeks although for autoflower strains can be as short as 6 weeks. This varies based on the strain type, with sativa dominant strains usually taking the longest. The end of the flowering stage is dictated by trichome ripeness, with most growers picking the point of peak potency to harvest.
What are the 5 keys to a successful flowering stage
- Avoid Stress: Maintain a stable environment. Drastic changes in light, temperature, or humidity can stress plants, hampering bud development.
- Optimize Nutrients: Switch to bloom nutrients rich in phosphorus and potassium. Too much nitrogen can reduce bud growth.
- Monitor Temperature and Humidity: Ideal temperatures range between 65-80°F (18-26°C). Humidity should decrease progressively from 40-70% at the start to 40-50% at the end of flowering.
- Check for Pests and Disease: Regularly inspect plants. Remove any affected areas promptly to prevent spread. Use organic pest controls if needed.
- Time Your Harvest: Harvest too early, and the buds won't be as potent. Too late, and THC may start to degrade. Look for when most trichomes are milky, and pistils are dark for the best results
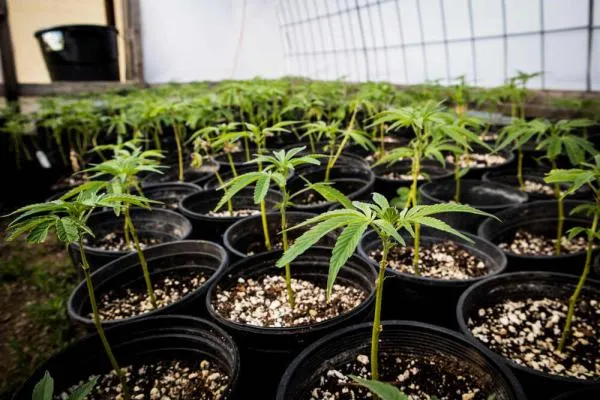
Pre-Flowering & First Signs of flowering stage
There are different factors to consider when looking for early signs of the flowering stage in your plants. If you are growing autoflowers, this doesn’t really apply as autoflowering varieties are pre-programmed to enter the flowering stage automatically, regardless of external factors.
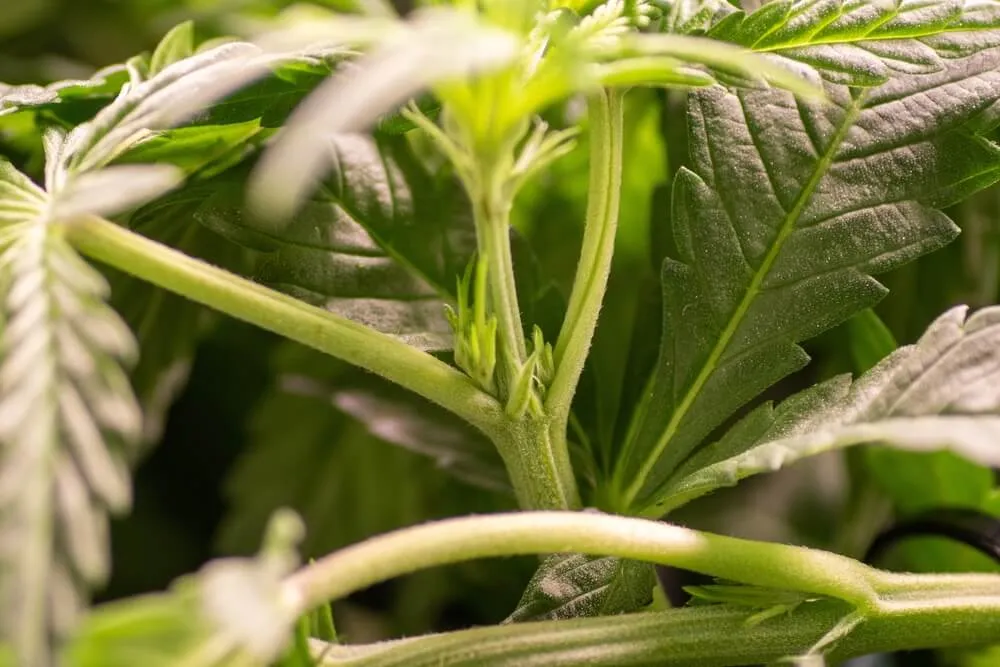
Photoperiod plants on the other hand begin to show their first preflowers one or two weeks after the lights have been flipped to 12/12. The initial preflowers will look like little white whiskers that we call pistils, this is the first sign of the bud developing.
First signs of flowering stage outdoors
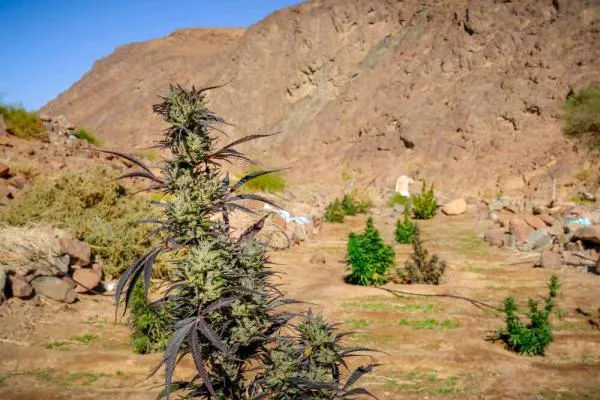
Growing outdoors, you are entirely reliant on mother nature to do all the work. With no control over the light cycle your cannabis plants will only begin to develop their preflowers once daylight drops below around thirteen hours of light. This is why if you are growing outdoors it is important to plan your grows according to the weather in your region. Ideally you want to time it so that your plants are ready to be harvested before winter arrives. In the northern Hemisphere this normally means you will be harvesting your weed between September and November.
The first signs of the flowering stage to look out for will be exactly the same whether growing indoors or outdoors it is only the point at which they actually begin to show that will change. So once the light begins to dip, keep an eye out for those pistils we mentioned and you know the flowering stage has begun.
What do buds look like when they start to form?
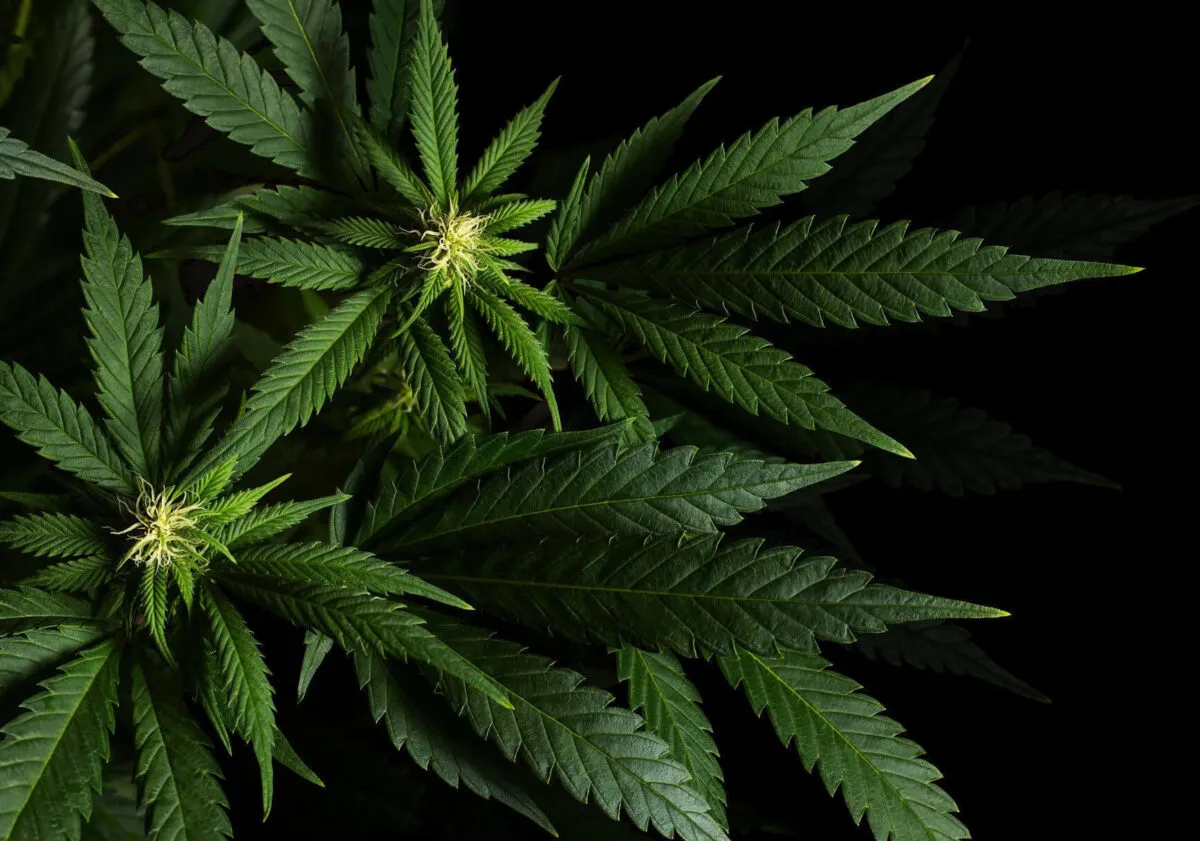
Early bud development starts off with those little white pistils and slowly develops into something that resembles a cannabis flower. Around the nodes where the pistils are growing from you, will begin to notice the development of some small green bobbles, these are called bracts and are the first signs of the actual bud.
It is important not to confuse the early signs of a female flower with a male pollen sack. Pollen sacks grow from the same place but on male plants. If a male plant is growing among your crop the pollen sacks could burst pollinating the female plants and ruining your crop. Read our guide on sexing your cannabis plants and how to spot the early signs of male plants to avoid this mishap.
Week 1 of the Flowering Stage – The flip
During the vegetative stage, cannabis plants grow vigorously and take on their recognizable structure, particularly their foliage (leaves). Depending on the circumstances, once they ‘know’ it is time to transition to the flowering phase, they enter the pre-flowering stage in which growth slows down.
A hormone called phytochrome (PR), which gets produced as soon as seeds germinate, is ‘suppressed’ by the red spectrum of light found both in the sun and artificial lamps during the long hours of daylight. Once plants receive at least 11 hours of uninterrupted darkness (certain sativa varieties may require 12 hours or more), critical levels of PR are activated and after about 5 days in this state, plants receive the signal to switch over to the flowering stage. This process is known to many growers as ‘the flip’. Once you action the flip, a panic reaction is triggered in the plant and it begins growing while simultaneously producing bud. At this point many strains will begin to grow rapidly for a couple of weeks before fully transitioning into the flowering stage.
Apart from this hardly any changes can be visibly noticed during week 1 of flowering. This is also a good time to consider certain training techniques as cannabis requires time to recover from stress and the focus of the flowering phase should be growth and not recovery from stress or injury. Low-stress training (LST) techniques are ideal for this as they don’t cause any major damage and allow for maximum light penetration to bud sites while flattening out the canopy.
Week 2 – First signs of flowering
This is where flowering marijuana plants will begin to physically manifest their new life cycle phase, though there is still a way to go before any buds are visible. Around the second week after flipping (or approximately week no. 4 in autoflowers), little white whiskers known as pistils begin to emerge from the spot where fan leaves protrude from the plant’s main stem. These sites are known as bud sites and will be the spot to watch for emerging buds. Should your plant produce sacs instead of pistils, that means you have males in the garden, and you should get rid of them ASAP to avoid developing seeds and to maximize flower production.
While the plant focuses its energy on bud production at this stage, that doesn’t mean the rest of the plant has stopped growing. In fact, by the end of flowering your plants are likely to double in size since the flip. If you are planning on continuing LST or sculpting your plant for maximum bud production, now is a good time to start focusing on bud growth sites to expose them too as much light as possible. If you are adding any additional nutrients such as boosters to your garden, this would be the right time to do so, just remember not to overdo it as this could lead to issues down the line.
Week 3 – Buds begin to develop
At this stage your cannabis plants wont have completely stopped growing and your plants could be up to 50% bigger than they were prior to flipping the lights. New stems and leaves become more apparent in week three of flowering and more pistils can be seen emerging from the leaf bunches atop the main colas. Plants are still stretching at this point and are still quite flexible, so if you haven’t done much sculpting yet, this is still a good opportunity to work on that flat canopy, which if you are growing a high yield marijuana strain can increase your yields by as much as 60%.
This is also when you should start paying attention to leaf tips and watch for any nutrient imbalances (nute burn) that could stunt your plants’ growth. At this stage plants will have time to recover from any potential nutrient issues, though the earlier you spot them, the easier it will be for your plants to recover and produce a sizeable harvest.
As a rule of thumb, you should maintain a minimalist feeding scheme so as not to cause any nutrient disorders (less is more). Towards the end of week 3 you might start to notice ‘mini-buds’ taking shape.
Week 4 – Growth has stopped
One month into flowering vegetative growth will have more or less stopped, which means plants will put almost all of their energy into flower production. Those mini buds will start to get thicker and thicker by the day and you will also notice some sparkly little trichomes appearing on bud sites. However, along with increased capitate trichomes comes increased odor, so if you don’t have a contingency plan for dealing with odors, now is a good time to develop one. This particularly applies to indoor stealth grows where privacy and security are top concerns.
At this stage, any additional bending or training will become unnecessary as the plants start to take on their final shape for the home stretch. Depending on the cultivar in your indoor garden, you may have to apply techniques such as super-cropping, which is a way to maintain a flat canopy and pull down any colas that have gotten a little too close to grow lights. This might pose a problem particularly for grow spaces with limited real estate.
Week 5 – Trichomes begin to ripen
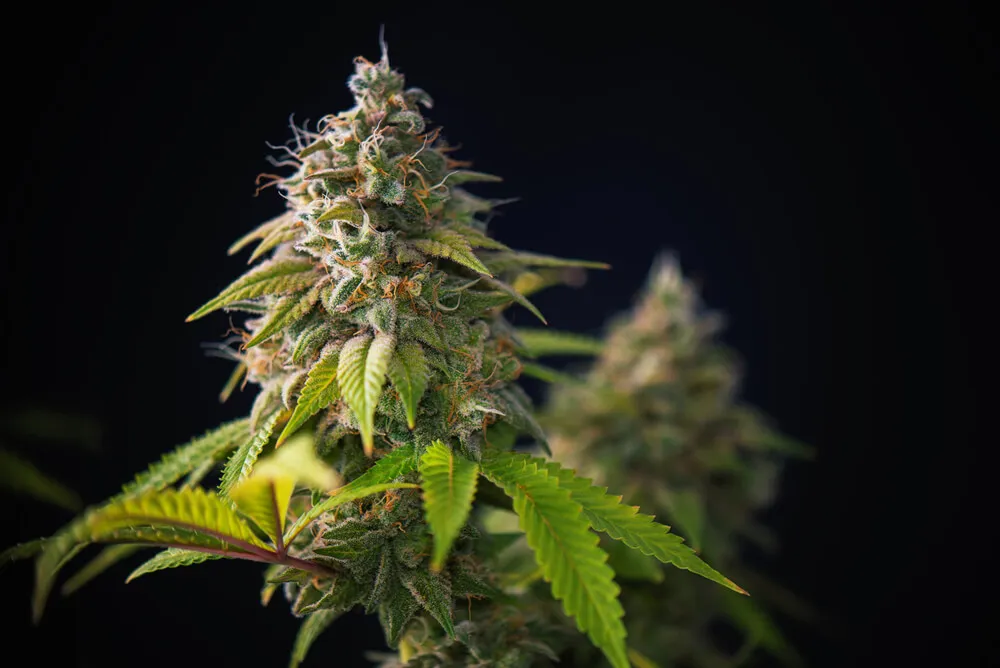
At the halfway point of the flowering stage, your plants should be displaying easily recognizable buds with a good number of white pistils, though a few may have started to turn a brownish orange. Trichome covered buds will also begin to form along the main cola.
It is during the 5th week of flowering that buds will start to fill out and pack on some serious size. Keep any that are particularly large as you may need to provide some support for your plants at this stage to prevent them from becoming weighed down.
Trichomes should start becoming cloudy/milky at this point, and this is also an indication of increased terpene production, which means your garden is going to get a little stinky, so keep this in mind if odor is an issue. Around this time is when growers should start thinking about reducing nutrients and feeding in general, as harvest time is only a matter of a few weeks away and many growers will want to flush their gardens for a week or two before harvest.
Week 6 – Start checking your trichomes
Bud growth continues in week 6 and slowly start to ripen, pistils start to darken, and some leaves begin to yellow and wilt, mostly fan leaves. This is when things start to get quite colorful, much like your favorite forest in autumn. Many leaves will be naturally defoliated (from wilting, for example), however larger fan leaves, especially the older ones towards the bottom of the plant, can be removed once discoloration is noticed as the plant by now is using other parts for photosynthesis.
Other leaves that aren’t receiving much light, particularly those closer to the base of the plant, can also be removed to provide better air circulation. This will also redirect the plants’ energy from providing leaves with nutrients to full-on bud production. Not all varieties will be at the same growth phase at week six (some sativas take several weeks longer to fully ripen), but the majority of indicas and many hybrids will display thick buds, covered with sticky, stinky trichomes.
Week 7 – Start flushing your cannabis plants
Getting very close to the finish line here but there are still things to do and look out for to reach that big fat harvest. If you haven’t flushed your plants by now, this is the final call to do so, otherwise whatever nutrients you have been using may influence the final product, specifically in terms of flavor. Basically, all you need to do is to stop standard feeding and give your plants some plain ol’ water (distilled is perhaps best due to having zero mineral content) over the next couple of weeks before harvest to remove any mineral build-up and to balance the pH of the soil.
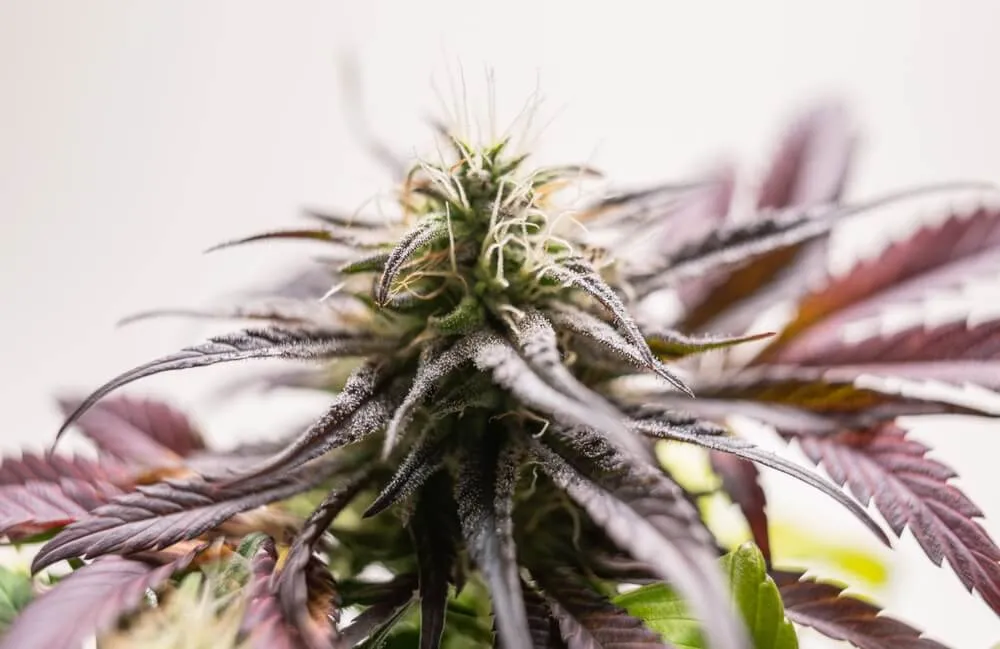
At week 7, buds should be pretty thick, with swollen calyxes, orange-brownish pistils, and erect trichomes that should now contain some amber-colored caps filed with resin. These amber trichomes should make up around 10-15% of the mature trichomes visible on buds, the rest being mostly cloudy/milky. Once you reach this level of maturity, you can start counting down the days to the final chop.
If you are looking for a balanced effect from your plant, having 20-25% amber trichs is a good indicator that your plants are just ripe. Anything above 40-50% means that your flowers are overripe, and you can expect a very couchlock inducing effect. If you decide to chop without many amber trichomes, the effect will tend to be more cerebral.
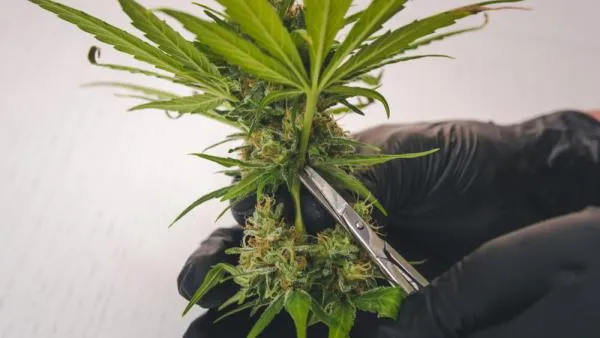
Week 8 – Peak Ripeness & Harvest
Peak ripeness is reached towards the end of week 8. This is where plants are most colorful as by now most of the leaves should have turned red or yellow and the milky and/or amber trichomes fluoresce. If you are waiting for the right moment to take some photos of your grow, plants will be the most photogenic around this time, so dust off that camera and snap away.
THC levels are also at their highest here, so if you want to retain as much as possible, best not to wait around much longer and give your girls the chop. In addition to peak cannabinoid levels, your plants will also be at their most pungent as female flowers are desperately trying to attract male pollen for seed production, which of course is what we want to avoid!
Generally speaking, cannabis varieties averaging an 8-week flowering period stop growing at this point and start to deteriorate if not harvested. As mentioned before, certain sativa-dominant varieties take several weeks longer than typical indica-dominant strains, so make sure to check the breeder’s information so that you can time your harvest accordingly.
Summary
If you have exhibited patience, attention to detail and have given your plants some TLC, then you should have mastered the flowering stage and you are now armed with all the knowledge required to grow your cannabis seeds into huge plants with plenty of bud.
Growing buds is an incredibly rewarding experience, to the point where you want to keep doing it again and again. Each week there is something to pay attention to and seeing flowers develop and flourish in real time is an exciting process in and of itself.
With time and practice, you will be able to manage your plants at each stage of flowering so that you get a big fat (and gorgeous) harvest without breaking a sweat. Although consuming cannabis isn’t addictive, the growing and (especially) flowering part is. Now that you’ve harvested your plants, you can move on to the next important phase, trimming, drying, and curing. You’ve gotten this far, just a few more steps and you can enjoy the flowers of your labor. Happy growing!