The key to producing big yields with autoflowers lies in the art of Low-Stress Training (LST). LST can skyrocket your yields without piling on unnecessary complications. So, what’s the secret? It’s all about gently guiding your plant's growth and optimizing light exposure.
LST training is a term that comprises of a few different methods, including sea of green, screen of green and the tie and bend technique. In this article you will learn all the variations of LST, the pros and cons of each, how to identify common mistakes and troubleshoot problems. Finally, get insights into advanced techniques to take your LST game up a notch.
Before we go into how to LST autoflowers, let's take a look at what separates it from High-Stress Training (HST). HST involves significant manipulation of the plant such as cutting or snapping branches. This leads to more concentrated growth but can be detrimental if not done properly. If you haven't already gathered by the name HST is a 'high stress' approach to training plants.
Can You Use High-Stress Training Techniques With Autoflowers?
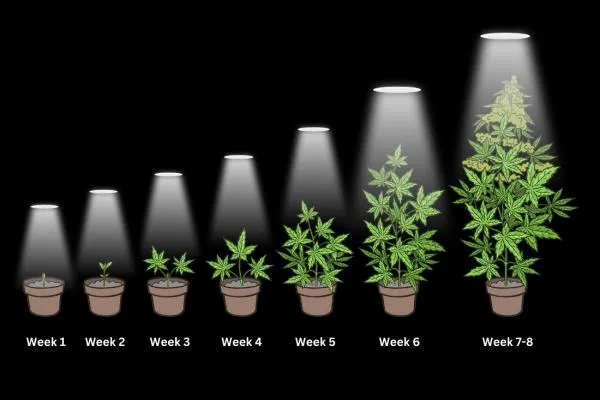
Autoflowering plants have short life cycles, typically only spending a couple of weeks in the vegetative stage, before the flowering stage begins at around weeks 3-5 of growth. HST methods impose a high stress level on the plant. When you are growing photoperiods there is plenty of time for the plant to recover before it begins flowering, but with autoflowers you don't have that luxury. The stress caused by HST methods such as topping or super cropping can be too severe and too close to the flowering stage. This can leave autoflowers with insufficient time to recover, resulting in stunted growth and significantly reduced yields. Conversely, LST is gentler and involves bending and tying branches to guide growth without actually damaging the plant causing little to no stress at all.
When Should I Start Low-Stress Training Autoflowers?
Timing is crucial in LST. It’s best to start around the third week of growth for autoflowers. This is when the plant has established a good root system and can handle some gentle manipulation. Regularly monitor your plants growth, and cease LST when you observe that it has stopped growing vertically. This is a sign that the plant is now focusing its energy on bud production.
Does Low-Stress Training Increase Yield?
Absolutely! It's possible to see a yield increase ranging from 20% to 50% or more when LST is properly applied. However, it is important to note that this range is an estimate, and actual results can vary from stain to strain. By training your plants to grow in a certain way, you maximize light exposure to the leaves. This ultimately leads to more energy production and a higher yield. It’s a simple equation: more light and energy equals more buds!
What Are The Different LST Methods?
Let’s explore three popular LST techniques: ScrOG, Tie and Bend, and Sea of Green so you can decide which is the most suited to your autoflower grow.
ScrOG
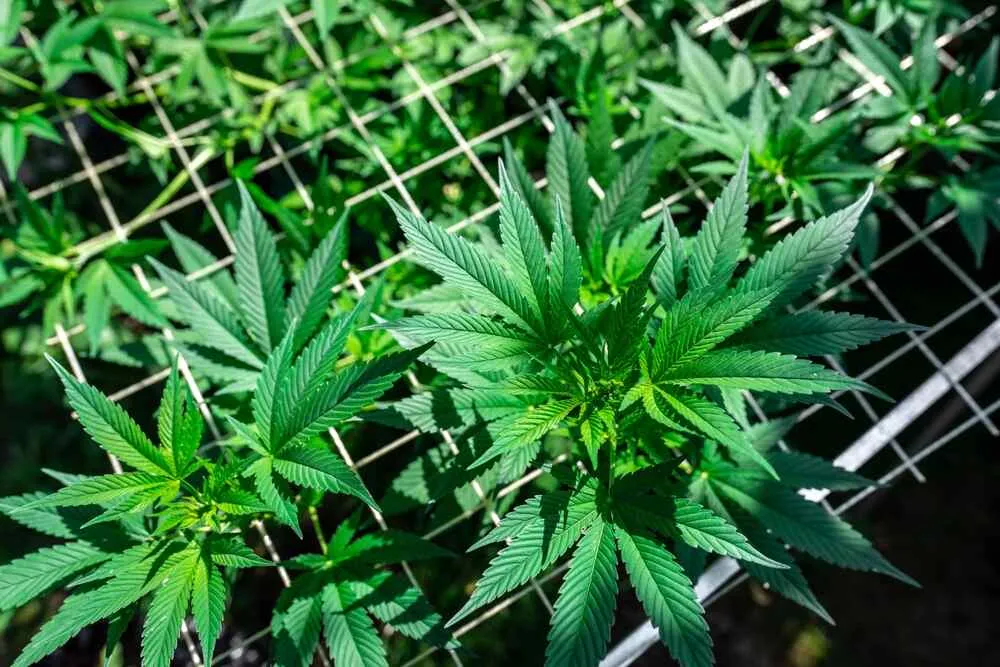
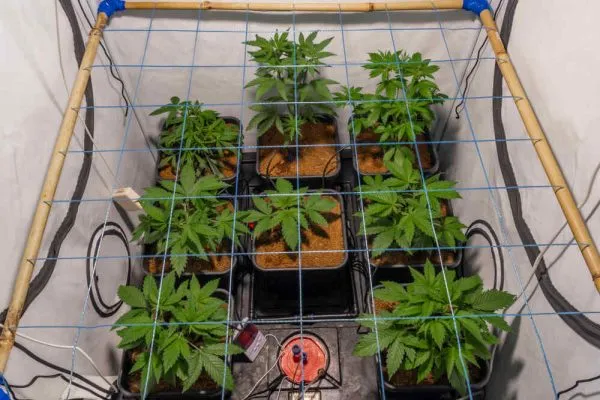
The ScrOG, or Screen of Green, method involves placing a screen over your plants and weaving the branches through it. This keeps the canopy even, which ensures that all plants get the same amount of light.
Pros:
- Encourages plants to produce an even canopy improving light distribution.
- Efficient use of space.
- Optimal light distribution.
Cons:
- Requires additional equipment.
- May be labor-intensive initially.
How To ScrOG Autoflowers
Materials required
- A screen or netting with squares (2 to 4 inches)
- Sturdy poles or frame to attach the screen
- Plant ties
- Pruning shears
- Autoflowering cannabis plants
Step 1: Set Up the Screen Approximately 20-30 cm above your plants, install the screen. Ensure that it is taut and securely attached to the poles or frame of your tent. The screen will need to support the weight of your growing plants.
Step 2: Monitor Growth As your autoflowers grow, keep a close eye on them. When the tops are about 5-10cm from the screen, it’s time to start scrogging.
Step 3: Weave the Branches Gently weave the branches through the squares of the screen. This will encourage them to grow horizontally, creating an even canopy.
Step 4: Secure the Branches As your plants continue to grow, they might need some help staying in place. Use plant ties to secure branches to the screen.
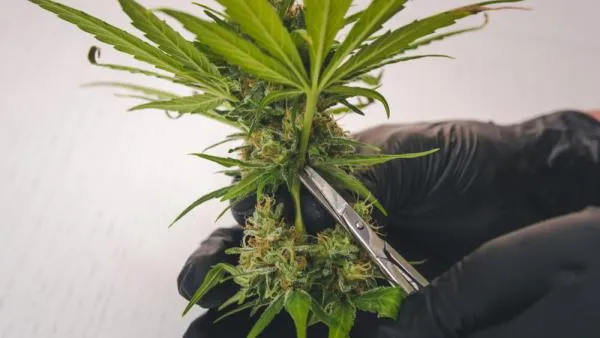
Step 5: Prune Selectively As your canopy begins to take shape, you’ll notice that some leaves or branches underneath the screen are not receiving much light. Use pruning shears to trim these away. This will direct the plants' energy to the buds in the canopy.
Step 6: Monitor and Adjust Regularly check on your plants. Make sure all branches are weaving through the screen and that the canopy remains even. Adjust ties as necessary.
Tie and Bend
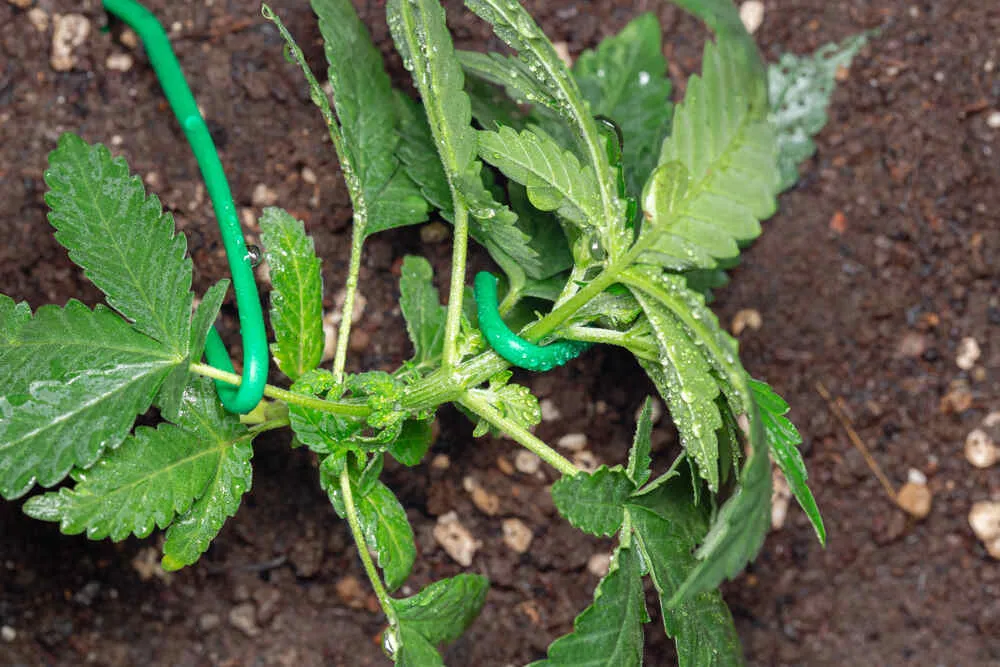
Tie and Bend is all about controlling the shape of your plant. You'll use ties to bend and secure branches, encouraging horizontal growth gradually as the plant gets taller.
Materials required
- Soft plant ties or string
- Stakes or weights
- Pruning shears
- Autoflowering cannabis plants
How To Tie and Bend LST Autoflowers
Step 1: Identify the Main Stem Begin by identifying the main stem of your autoflower. This is usually the tallest and thickest stem and is typically the first one you’ll want to work with.
Step 2: Start Bending When your autoflower has developed a few nodes, gently bend the main stem towards the horizontal. Be cautious as you do this to avoid snapping the stem.
Step 3: Secure with Ties Using soft ties, secure the bent stem to the pot or a stake in the soil. The goal is to encourage the stem to grow horizontally, or at least at a more angled growth pattern.
Step 4: Continue with Branches As the plant grows, start to gently bend and tie the branches that grow off the main stem. Spread them out in different directions to create an even canopy.
Step 5: Monitor Growth Regularly observe your plants. The branches will try to grow upwards, so you’ll need to adjust the ties and bend them further to maintain the desired shape.
Step 6: Prune Undergrowth As your plant becomes bushier, you might notice that some leaves or branches are not getting enough light. Use pruning shears to trim these away so the plant can focus its energy on the upper canopy.
Step 7: Be Vigilant During Flowering When your autoflower enters the flowering stage, it’s important to monitor closely. The stems will become less flexible, so be extra gentle when adjusting ties.
Pros:
- Customization of plant shape
- Improved light penetration to lower branches
- Ability to control the shape and angle of each and every branch.
Cons:
- Requires regular adjustment
- Can be time-consuming
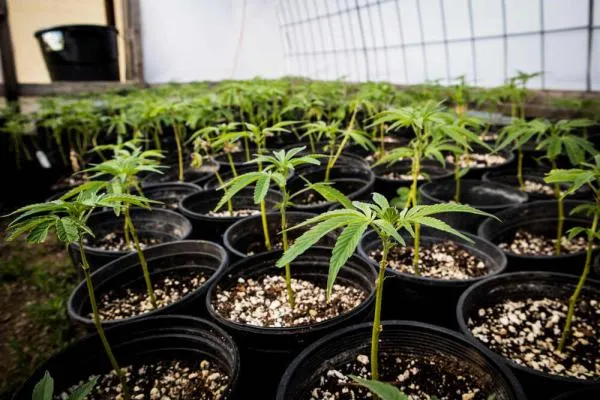
Sea of Green
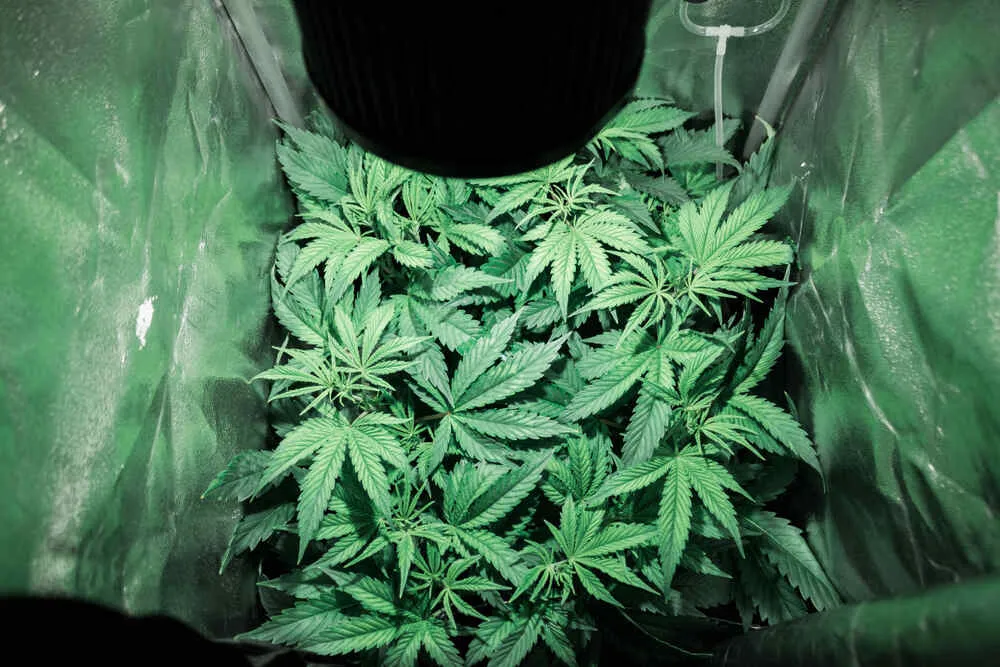
The Sea of Green method involves growing many small plants close together, creating a green canopy resembling a “sea”. This is ideal for quick harvests.
Pros:
- Quicker harvest times.
- Efficient use of space.
- Very little effort required.
Cons:
- Smaller plants.
- Requires numerous plants for substantial yields.
- Greater risk of mold if the tent becomes too densely populated.
Materials Required
- Autoflowering cannabis seeds or clones
- Pots (smaller sizes, typically 2 to 3 gallons)
- Grow lights (if growing indoors)
- Pruning shears
How To SOG Low-Stress Train Autoflowers
Step 2: Plant Your Autoflowers Plant your autoflower seeds in their pots. Use small pots because the pots need to be placed close together to maximize the number of plants per square foot. Ensure that each pot has proper drainage.
Step 3: Optimize Light Distribution If you’re growing indoors, position your grow lights so that they provide even light distribution across all the plants. This might mean using multiple lights in larger tents.
Step 4: Monitor Growth Keep an eye on the growth of your plants. The goal is to have them grow a single dominant cola, so the energy is focused on this main bud.
Step 5: Prune Lower Branches As the plants grow, you can use pruning shears to remove lower branches and leaves that are not receiving enough light. This redirects the plants’ energy towards the main cola.
Step 6: Watch for Signs of Flowering Pay close attention to your plants as they enter the flowering stage. This is when they will produce the buds you’re looking for.
Step 7: Harvest in Batches With SOG, not all plants will be ready for harvest at the same time. Harvest plants as they become ready, usually starting with the ones in the center.
Which Is the Best LST Technique for Autoflowers?
When it comes to choosing the best LST technique for your autoflowers, it's essential to consider your goals and the resources at your disposal. The Sea of Green (SOG) method is a star performer for optimizing space in large-scale grows. For cash croppers seeking to maximize efficiency with minimal fuss, SOG is a solid pick. It allows for a high density of plants, maximizing the canopy, and consequently, the yield per square foot.
However, if your goal is to achieve the best yields per plant, especially in smaller indoor grows, then the ScrOG (Screen of Green) and Tie and Bend methods are your best bets. These methods encourage lateral growth, which results in an even canopy and optimal light exposure for all the branches, leading to more substantial yields per plant.
While ScrOG and Tie and Bend can be particularly good in terms of increasing yield, they do require more time and effort compared to the SOG method. ScrOG involves setting up and managing screens, while Tie and Bend requires meticulous and regular adjustment of ties. Alternatively if you are stuck for choice many growers successfully use the ScrOG and tie and bend method simultaneously to produce enormous autoflower yields.