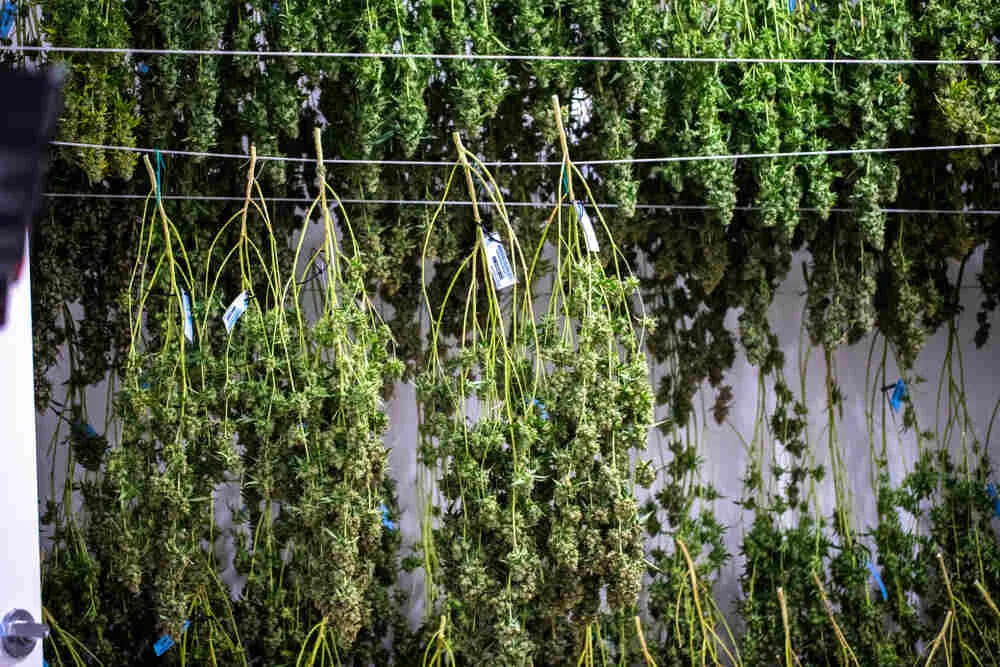
Once your bud has been cut down and dried, the final stage of the harvest process before it is ready to smoke is curing. Curing cannabis is the vital step that turns the taste and aroma of your buds from a harsh smoke into a smooth, great tasting smoke.
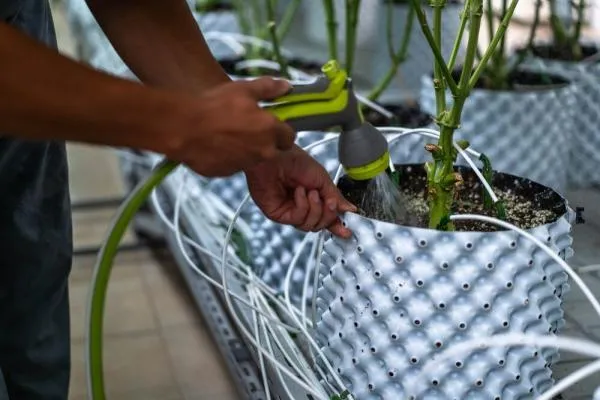
Drying and curing are often the most overlooked stages of the harvest process. We've all gotten overexcited before from our bountiful yields and attempted to quick dry some bud in our boiler rooms, only to have a harsh bitter taste when you smoke it. Wait just a couple more weeks and you can transform that damp, harsh bud into top-shelf genetics.
Why is it important to cure cannabis?
Freshly harvested cannabis plants contain chlorophyll and sugar, together these two give bud a harsh bitter taste. The main function of the curing process is to improve the taste, smell and potency of your bud. Learning how to cure weed properly is what takes your precious harvests from standard bud to a top shelf product. This may sound like an overstatement, but if you think we’re joking, try smoking some of your uncured bud and you’ll notice the difference. Even partially cured cannabis is better than uncured cannabis, although nowhere near as good as properly cured cannabis. Again, if you don’t believe us, try taking out some buds part-way through the curing process and comparing them with properly-cured cannabis.
How does curing weed improve its taste and smell?
Chlorophyll is a naturally occurring pigment found within cannabis plants that gives them their green color. It plays three vital roles in aiding the growth of the plant; Absorbing light from the sun to aid photosynthesis, absorbing carbon dioxide from the atmosphere and absorbing minerals and nutrients from the soil.
While chlorophyll plays a key role in helping the plant to grow, it leaves a bitter harsh vegetal taste in weed. In order to get rid of this taste you need to thoroughly dry and cure the bud.
During the process of curing weed, the bacteria begins to break down the chlorophyll and sugar in the plant. The bacteria then consumes the chlorophyll thus improving the taste and making the smoke less harsh.
Why it is vital to dry your weed before curing
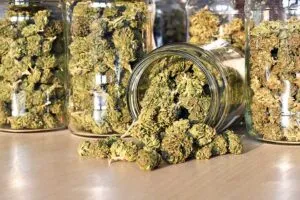
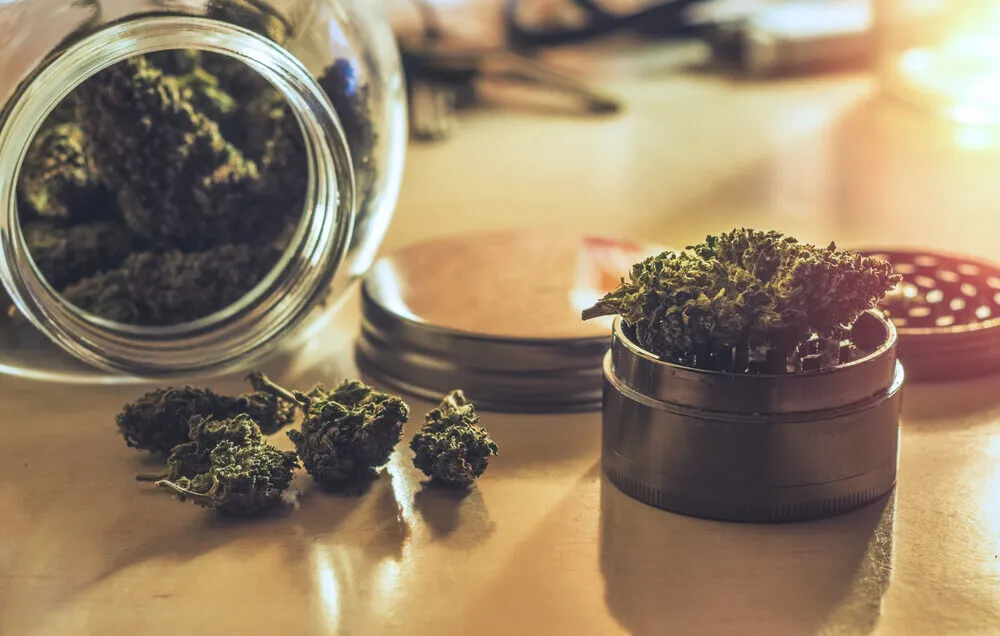
The curing process involves storing your bud in airtight containers for 3-6 weeks, effectively maturing them which helps to improve flavour, smell and potency. However, it is vital that you follow our guide on how to dry marijuana effectively before you begin the curing stage. When bud is stored in a sealed container for curing, you are effectively removing any airflow from their environment. If there is any excess moisture within the buds at this point it greatly increases the chance of mold developing, which could ruin your entire harvest.
Why burping weed is vital to the process of curing marijuana?
The good news is that curing weed is actually quite easy and requires more patience than effort. The key to a good cure is burping your bud.
Burping weed is the process of putting your buds into an airtight container such as a mason jar and opening it at timed intervals to allow moisture and CO2 to escape. By releasing this build up of gas and moisture it improves the taste and smell of the bud, preserving a stable environment for the bud to cure without mold developing.
Burping weed step-by-step?
Step 1: To start the burping process you will need an airtight container such as a mason jar or click lock Tupperware box. Fill your container with your dried bud and leave at least an inch/a couple of centimetres at the top.
Step 2: Store the container in a cool, dark place to cure. You need to open the containers for around 15 - 30 minutes per day to let out the build of moisture and gas.
Step 3: When you open the container, take this as an opportunity to gently feel the buds and give the jar a good shake to see how they respond. If you feel any moisture on the buds or see that they’re sticking together, pull them out and give them more time to dry. If you see any buds with mold on them, take them out and discard them.
Step 4: This process should be continued every day for 2 - 4 weeks before your buds are ready for consumption. Once you have completed this process you can safely store your bud in a cool, dark place with much less chance of mold developing.
What is the ideal humidity for curing cannabis?
Learning the basics of how to cure weed is just the first step, if you really want to get the best from the cannabis curing process, you will need to control the humidity and you will want it to be slightly higher than it was during the drying process. The ideal humidity for curing marijuana is between 60% and 65%. This hits the sweet spot of curing your weed slowly so that the terpenes develop while avoiding the conditions which promote mold.
Using a hygrometer will help you to check on the humidity of you buds. As mentioned the optimal humidity for curing you cannabis is 60-65% but what should you do if your humidity is higher or lower then this?
Humidity too high
When you are curing cannabis you need to keep a close eye on the humidity level. If your humidity is above 70% then chances are your buds will still feel wet. If this is the case then you need to remove the buds and let them dry for another few hours before returning to the mason jar. After this allow them to sit in the jar with the hygrometer for at least 24hrs to get a more accurate reading of the humidity.
Another sign that humidity in your jars is higher then it should be is if you give the jar a shake and notice that buds are sticking together. This is a sign that you are nearly there, however they need to dry out a little more. If you are in a dry climate then simply leaving the lid off of the jar for a few hours should dry the buds out sufficiently. A more humid climate will require the buds to be removed and given more time, until they feel dry.
Humidity too low
Another problem that can arise during the curing process is buds drying out to much. This usually takes place when you have a humidity reading of <55%. Buds will feel dry and brittle to touch as they do not contain enough moisture. These buds can be left in the jar and will continue the curing process, just at a slower rate. You could also add something such as a boveda pack to your jar, which will help rehydrate your buds and bring the conditions up to the optimum humidity.
After the first couple of weeks, you’ll start to feel your cannabis become stickier. This is normal, in fact, it’s what you want and is a large part of the reason for the curing process. Curing cannabis generally takes one to two months. As a beginner err on the side of caution and give it as long as you can. Once you develop more experience, you’ll get a “feel” for when it’s ready. You can then transfer it into a suitable container for storage. A tobacco humidor is ideal.
Whats next after curing weed?
Now that you have finished the drying and curing process its time to store your weed to keep it fresh. To store your cannabis for prolonged periods of time you should keep them in airtight containers, glass jars are preferred. They should also be kept in a cool dark place away from any windows, radiators or sources of light or heat with temperatures kept below 25.5ºC. If stored correctly dried and cured cannabis can be kept fresh for 6 months to 1 year.

2 Comments